Eighteen months after handover, the speed bumps across your site are already lifting at the edges, the anchor bolts have worked loose in the asphalt, and your maintenance crew is back on site for a job you budgeted as a one-off. For infrastructure procurement officers and civil contractors, choosing the wrong speed bump materials isn’t a cosmetic problem — it’s a capital write-off, a safety liability, and a reputational hit when the facility manager asks why a five-year asset failed in one. That cost compounds every time a replacement eats a budget you have already acquitted.
This guide fixes that. It gives you an engineering-led framework for selecting speed bump materials by load rating, anchoring compatibility and five-year lifecycle cost — so you specify once, install once, and never re-tender the same stretch of car park twice.
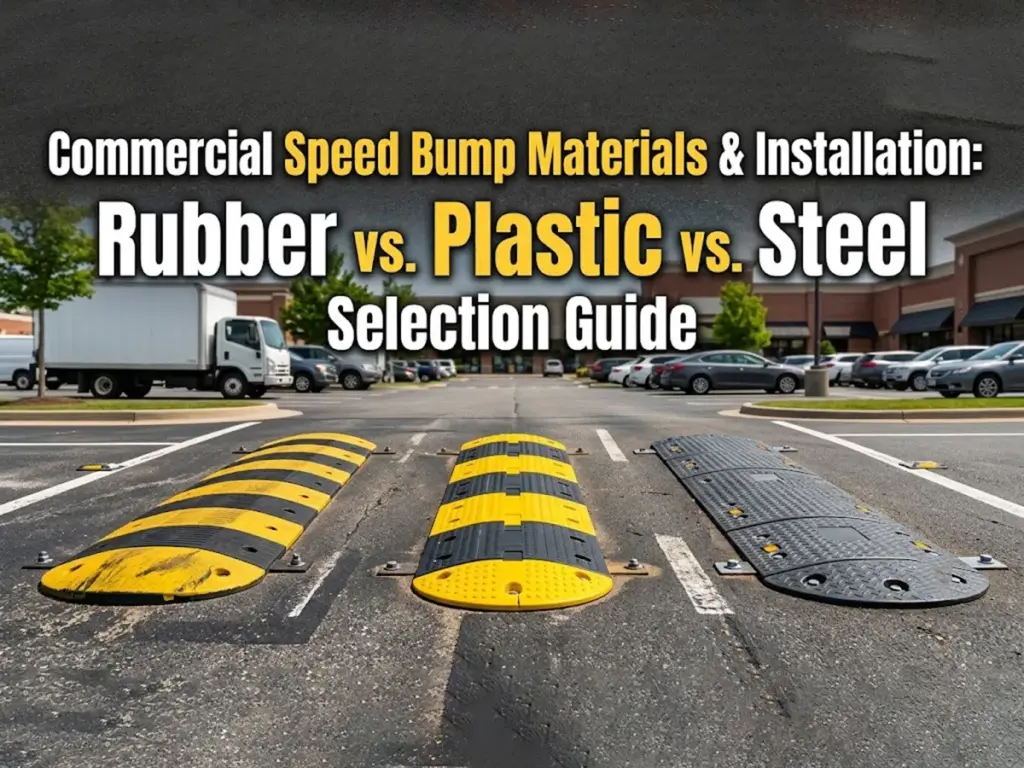
Understanding the Three Core Speed Bump Materials
Speed bump materials are the engineered substrates — principally recycled rubber, thermoplastic polymer and steel — from which traffic-calming units are moulded and anchored to a pavement. For procurement officers, the practical value of understanding speed bump materials lies in matching durability, load rating and installed cost to a site’s exact traffic profile, rather than defaulting to the lowest unit price.
Recycled Rubber — Composition and Performance Profile
Recycled rubber units are manufactured from vulcanised end-of-life tyres, a substrate prized for elasticity and thermal-cycle resistance. Commercial-grade rubber typically sits around Shore A 60–75 hardness and tolerates surface temperatures from roughly −30 °C to 80 °C without cracking — a genuine advantage across Australia’s climatic range. With the national tyre stewardship scheme lifting recovery toward 70% of used tyres, recycled-rubber speed bump materials also carry a measurable sustainability credential for tender scoring.
Plastic & Polymer — Where Lightweight Wins
Thermoplastic (usually HDPE) units weigh a fraction of rubber or steel, often 3–6 kg per segment, which cuts handling time and eliminates craneage. The trade-off is brittleness: polymer speed bump materials can crack under repeated heavy-axle loading and lose impact resistance over successive freeze–thaw cycles. They are best reserved for low-frequency, low-load duty such as short-term or relocatable car parks.
Steel & Metal — Industrial-Duty Applications
Fabricated or cast steel offers the highest load tolerance of all speed bump materials, making it the default for ports, mine sites and heavy-vehicle yards. Corrosion is the limiting factor: hot-dip galvanising or powder-coating is essential in coastal Australian environments, where salt-laden air markedly accelerates untreated-steel corrosion. Full weight also demands mechanical lifting during installation.
Rubber vs. Plastic vs. Steel: A Head-to-Head Material Comparison
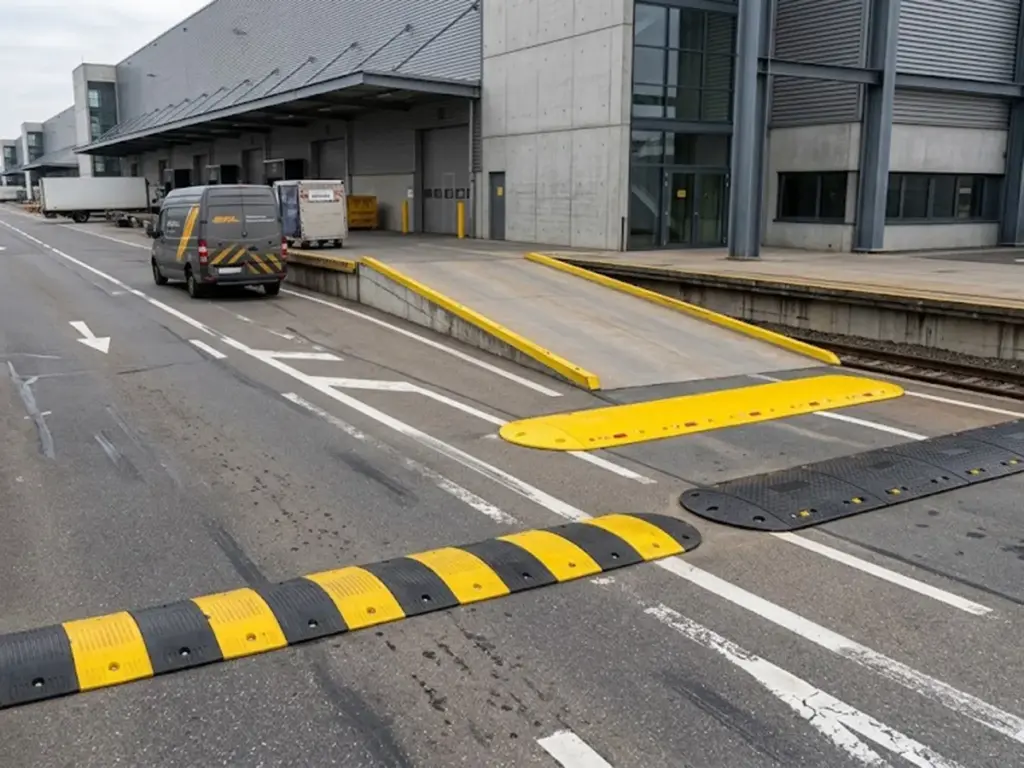
Choosing between rubber vs plastic speed bumps — and steel — comes down to three engineering dimensions, not appearance: how the substrate absorbs impact, how it holds visibility, and what it truly costs once installed.
Durability, Impact Absorption & Weather Resistance
Rubber’s high rebound elasticity lets it flex under load and return to shape, which is why heavy-duty rubber speed bumps sustain the highest impact cycles before fatigue. Steel resists deformation outright but transmits shock to fasteners; plastic sits lowest, degrading fastest under UV and thermal stress in exposed Australian car parks.
Visibility, Reflectivity & Surface Traction
Moulded-in high-visibility colour and embedded reflective inserts outperform painted surfaces, which abrade within one to two years under commercial tyre wear. Rubber and quality polymer accept factory-embedded reflectors; bare steel usually relies on applied coatings that require earlier re-marking to maintain wet-surface traction.
Cost-Per-Unit vs. Total Installed Value
Shelf price is the least reliable number in a speed bump purchase. The table below compares the three main speed bump materials in terms of load class, expected service life and indicative installed cost.
| Material | Typical Load Class | Expected Service Life | Indicative Installed Cost (AUD / linear m)* |
| Recycled Rubber | Passenger–Commercial | 8–12 years | $180–$320 |
| Plastic / Polymer | Light / Temporary | 2–4 years | $90–$160 |
| Steel / Metal | Industrial / Heavy | 10–15 years | $350–$600 |
*Indicative supply-and-install ranges for AU commercial sites; confirm against a current site-specific quotation.
Temporary vs. Permanent Speed Bump Deployment Options
Portable & Temporary Solutions for Short-Term Sites
Surface-laid units — pinned lightly or laid loose — suit events, construction phasing and seasonal traffic control. Their value is rapid removal and relocation, but temporary vs permanent speed bump materials differ sharply on service life: temporary polymer rarely exceeds 2–4 years of continuous duty.
Permanent Boltdown Installations for Fixed Assets
Anchored rubber or steel units serve fixed assets — car parks, campuses and logistics yards — for a decade or more and can be capitalised on the asset register. Correct bolt-down speed bump installation is what separates a 12-year asset from a 3-year liability.
Matching Deployment Type to Traffic Frequency
Specify by daily vehicle count and required service life. As a rule of thumb, sites above roughly 500 vehicle movements per day justify permanent anchored rubber; below that, and where relocation is likely, a temporary unit is the more efficient spend.
How Do Load Capacity and Weight Ratings Differ by Material?
Load capacity is the maximum axle load a unit can absorb without permanent deformation, and it varies widely across speed bump materials. This variation is driven by substrate stiffness, fastener design, and fatigue behaviour, and it is resolved by specifying to peak axle load with an engineered safety factor — not to gross vehicle weight alone.
Reading Load Ratings — Axle Load vs. Gross Vehicle Weight
Point-loading from a single heavy axle stresses a unit far more than total vehicle mass suggests. Always request the manufacturer’s dynamic load rating rather than a static figure, because a moving 5-tonne axle imposes an impact load well above its resting weight.
Matching Material to Traffic Class
Light passenger lots are served by standard rubber; mixed commercial traffic warrants heavy-duty rubber speed bumps rated for delivery vehicles; forklift and semi-trailer yards move into steel. Under-specifying speed bump load capacity is the single most common cause of premature edge failure.
Safety Factors & Fatigue Life Under Repeated Loading
Specify a safety-factor margin of at least 1.5 over peak expected load to absorb overloading and fatigue. Rubber’s fatigue life under high-cycle loading exceeds polymer’s by a wide margin, which is why it dominates continuous commercial duty.
Substrate Chemistry & Anchoring System Compatibility
Asphalt vs. Concrete — How Substrate Dictates Hardware
Concrete offers high pull-out strength and accepts expansion or chemical anchors directly. Asphalt is softer, moves thermally, and delivers far lower fastener pull-out resistance, so it usually needs longer sleeve anchors or an epoxy-set solution. Verifying substrate condition before drilling is non-negotiable for durable speed bump materials.
Anchoring Hardware & Fastener Selection
Match the fastener to the substrate and to a corrosion class suited to the site. Common speed bump anchoring systems include wedge/expansion anchors and chemical (epoxy) anchors for concrete, and long sleeve or lag anchors for asphalt. In coastal zones, specify galvanised or stainless hardware to prevent galvanic corrosion at the interface.
Boltdown Best Practices & Common Failure Modes
Honour the manufacturer’s torque spec, maintain adequate edge distance, and confirm embedment depth. The three dominant failure modes are anchor pull-out, concrete spalling, and progressive loosening — all traceable to incorrect boltdown speed bump installation rather than to the unit itself.
How to Install Commercial Speed Bumps (6 Steps)
A disciplined field workflow is what converts good speed bump materials into a long-life asset. Follow this sequence for a compliant, low-disruption installation.
- Inspect the pavement for cracking, delamination, or moisture, and confirm asphalt or concrete substrate before ordering hardware.
- Mark the layout and drilling positions using a template, keeping anchors clear of pavement edges and joints.
- Drill to the specified embedment depth with a matched bit diameter, then vacuum each hole clear of dust for full anchor grip.
- Position and interlock the modular segments, aligning fixing holes over the drilled anchor points.
- Anchor each fastener and torque to the manufacturer’s specification, allowing chemical-anchor cure time before loading.
- Verify torque and edge alignment across every segment, then reopen the lane to traffic.
As a fully integrated traffic-control manufacturer, Optsigns owns the complete supply chain — from raw rubber and steel substrates through to custom reflective printing — so your speed bump materials arrive spec-matched to your anchoring system and site. Get your free samples before you commit to a full order. Trusted across 500+ Australian commercial sites and manufactured to ISO 9001 quality systems.
Modular Segment Handling & On-Site Labour Time
Segment weight drives labour cost. Rubber modules of 30–40 kg install two to three times faster than craned steel, and loads above roughly 16 kg are flagged as higher-risk under Safe Work Australia’s hazardous manual-tasks guidance — a real factor in crew-size and speed bump installation planning.
Reducing Downtime & Traffic Disruption During Deployment
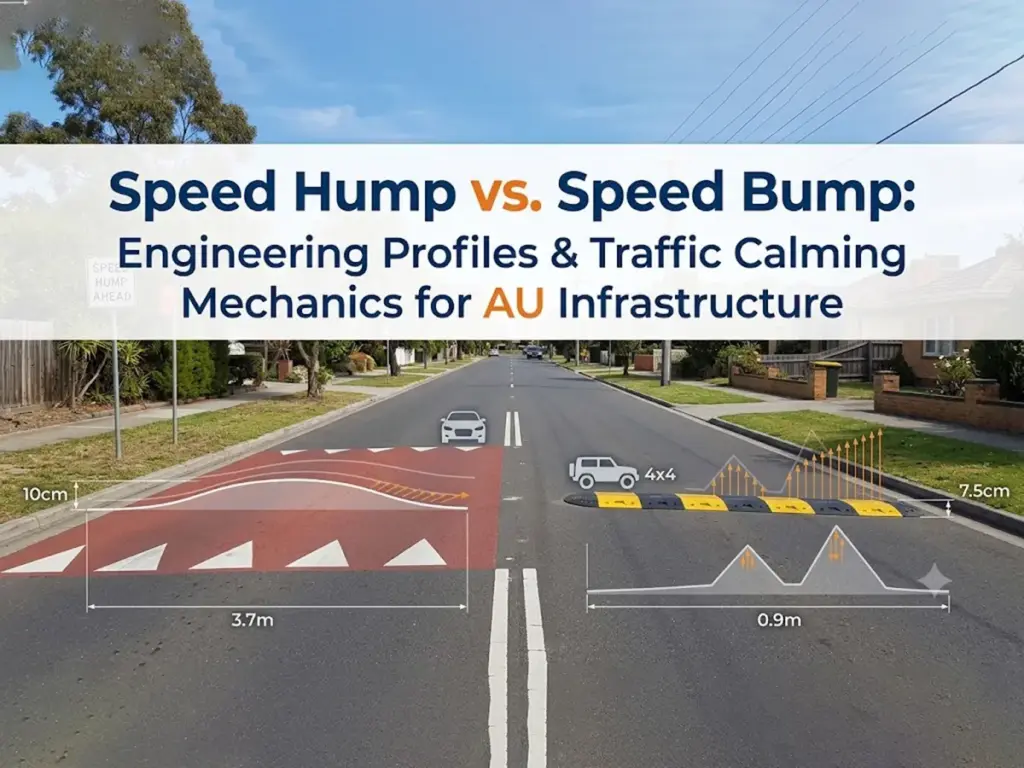
Install lane-by-lane, schedule chemical-anchor curing outside peak hours, and stage segments kerbside to keep the site operational. A typical 6-metre rubber run is anchored by a two-person crew in under 90 minutes, versus a half-day for equivalent steel. Planning a wider scheme? Our guidance on selecting the right traffic-calming profile helps match geometry to the site.
The 5-Year Lifecycle Cost (LCC) Analysis Model
Building the LCC Formula — Acquisition, Install, Maintenance, Replacement
Lifecycle cost of speed bumps is the sum of four buckets over a fixed horizon:
LCC = Acquisition + Installation + Maintenance + Replacement.
Normalising every option to cost per linear metre per year is the only fair way to compare speed bump materials that carry very different unit prices.
Material-by-Material LCC Comparison
The table below models indicative 5-year LCC per linear metre across the three main speed bump materials, assuming continuous commercial traffic.
| Cost Component (5-yr) | Recycled Rubber | Plastic / Polymer | Steel / Metal |
| Acquisition + Install | 250 | 120 | 450 |
| Maintenance / Re-torque | 40 | 60 | 70 |
| Replacements in 5 yrs | 0 | 1 (≈$120) | 0 |
| Total 5-yr LCC | 290 | 300 | 520 |
The lesson is decisive: the cheapest unit (polymer) loses its price advantage the moment a single replacement cycle is added, landing above rubber on total cost within five years.
Optimising Asset Lifecycle & Specifying for the Long Term
Schedule an annual re-torque, inspect reflectivity each year, and specify corrosion-matched hardware from day one to protect service life. For the full engineering picture across design, geometry and application zones, see our complete speed bump design and application guide. Download our lifecycle-cost checklist now to model your own site before tender.
Turning a Material Spec Into a Long-Term Infrastructure Asset
The winning specification is never the cheapest unit — it is the substrate whose load rating, anchoring compatibility and five-year lifecycle cost align with your traffic class. For passenger and mixed commercial sites, heavy-duty rubber delivers the lowest total cost of ownership; for industrial yards, treated steel earns its premium. Get those three levers right and a speed bump stops being a recurring expense and becomes a long-term infrastructure asset. When you are ready to specify, talk to our procurement engineering team about your site requirements.
Frequently Asked Questions
Which speed bump material lasts longest in high-traffic commercial car parks?
Recycled rubber offers the best balance of impact absorption and fatigue life for continuous commercial traffic, typically lasting 8–12 years. Steel leads only in extreme industrial-load settings, while plastic suits short-term or relocatable use.
What load capacity should I specify for a logistics yard with heavy trucks?
Specify to peak axle load, not gross vehicle weight, and apply a safety factor of at least 1.5. Request the manufacturer’s dynamic load rating and select heavy-duty rubber or steel rated for the yard’s vehicle mix.
Can I install the same speed bump on both asphalt and concrete?
The unit can be identical, but the anchoring hardware is not. Asphalt’s lower pull-out strength and thermal movement usually require longer sleeve or epoxy anchors, whereas concrete accepts standard expansion or chemical anchors.
Is a temporary speed bump ever cheaper over a five-year horizon?
Only for genuinely short-term or relocatable sites. For fixed installations, permanent boltdown rubber usually wins on lifecycle cost, because temporary polymer typically needs at least one replacement within five years.
How long does a commercial speed bump installation take?
A 6-metre modular rubber run is typically anchored by a two-person crew in under 90 minutes. Heavier steel units require mechanical lifting and can take half a day, and chemical anchors add cure time before reopening.
References
- Tyre Stewardship Australia — Used Tyre Recovery & Recycling Data (2024)
- Safe Work Australia — Hazardous Manual Tasks Code of Practice
- Standards Australia — Traffic Control & Roadside Infrastructure Standards
- Austroads — Guide to Traffic Management (Traffic Calming)
- Australian Bureau of Statistics — Motor Vehicle Census, Australia (2024)