Picking the right traffic sign bracket is very important. It helps keep roads safe and signs steady. The right bracket makes sure signs stay in place and visible. It also stops damage from wind or shaking. Different poles need special brackets to fit well and last long. Knowing this helps meet safety rules and build strong setups anywhere.
OPTRAFFIC provides a wide selection of high-quality traffic sign brackets. Our traffic sign brackets are built with durable materials to withstand harsh weather and frequent use, while ensuring fast, secure installation. Whether you’re working on permanent road infrastructure or temporary traffic setups, OPTRAFFIC offers reliable solutions that help you meet safety standards with confidence.
Key Takeaways
- Pick the right bracket to keep signs safe and easy to see.
- Poles like U-channel, square, or round need special brackets to fit well.
- Choose strong brackets that resist weather and won’t rust over time.
- Universal brackets work on many poles, making setup faster and simpler.
- Follow local rules to avoid problems and keep signs working properly.
Common Pole Types for Traffic Signs
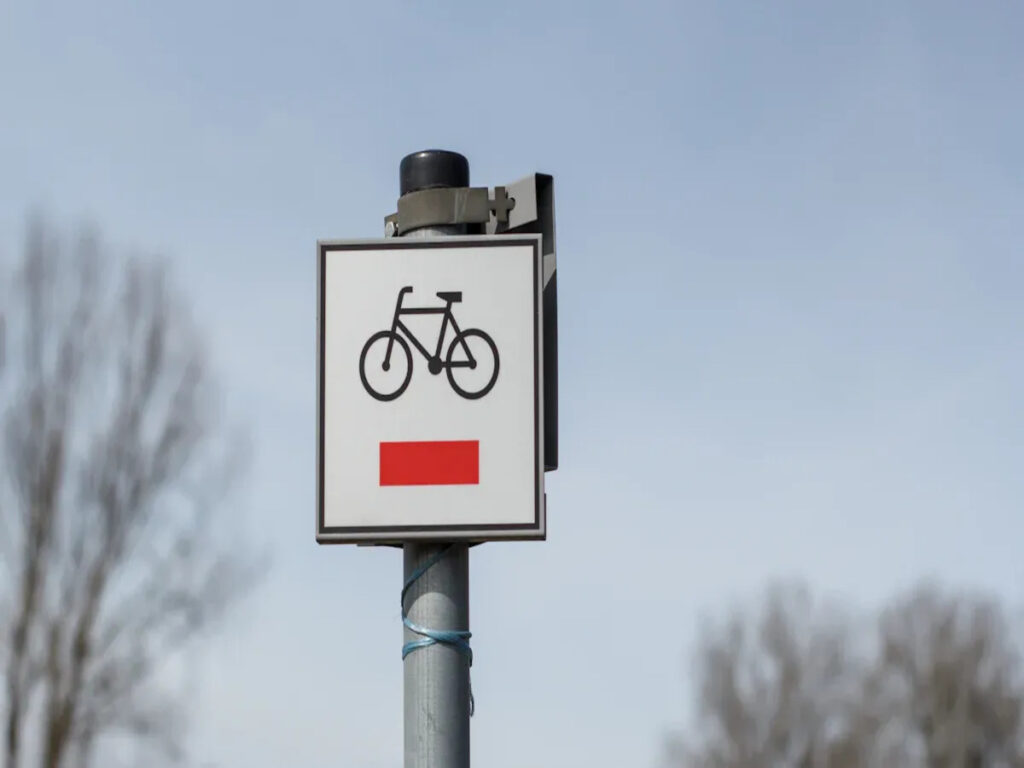
Traffic signs need strong poles to stay useful and easy to see. Different poles have special designs for certain uses. Knowing these differences helps you pick the best pole for your needs.
U-Channel Poles: Features and Uses
U-Channel poles are widely used for traffic signs in North America. They are light, making them simple to install. The slots let you attach signs quickly with bolts. These poles are affordable and work well for regular signs in towns and cities.
Here’s a quick summary of their details:
| Specification/Characteristic | Details |
|---|---|
| Material | Made from hot rolled steel |
| Weight | 3 pounds-per-foot or less for safety rules |
| Installation Depth | No deeper than 3.5 feet underground |
| Breakaway Feature | Bends or breaks when hit |
| Concrete Installation | Not ideal, but splices or stub posts can help |
The breakaway feature makes them safer in fast-driving areas by lowering crash impact. These poles are good for places with mild wind and normal-sized signs.
Square Poles: Traits and Benefits
Square poles are often seen in cities and business areas. Their flat sides let you put signs on more than one face. This makes them great for crossroads or parking lots. They look neat and hold signs firmly.
You can use saddle brackets or double-sided brackets to attach signs. This makes square poles useful for spots needing signs on both sides. Their strong build supports heavier signs, making them last in busy areas.
Round Poles: Design and Uses
Round poles are used for utility or decoration. Their smooth shape needs special brackets like U-bolts or straps to hold signs. These poles work well for big signs or places where looks matter, like parks or neighborhoods.
Round poles spread weight evenly, which lowers stress on brackets. This makes them good for windy areas or places with shaking. With the right tools, round poles are durable and look nice for traffic signs.
Specialty Poles: Telespar and Fluted Poles
Specialty poles, like Telespar and Fluted poles, have special uses. Their unique designs make them helpful for certain traffic sign needs.
Telespar Poles: Easy to Adjust
Telespar poles are made to be flexible. You can change their height or swap parts without taking out the whole pole. This makes them great for places needing frequent sign updates or repairs.
Main Features of Telespar Poles:
- Pre-drilled Holes: Holes make attaching signs fast and accurate.
- Simple Setup: Slide sections together for a tight and secure fit.
- Long-lasting: Galvanized steel keeps them from rusting or wearing out.
These poles are common in parking lots, work zones, and temporary setups. They save time and cut down on labor costs during installation or repairs.
Tip: Use Telespar poles for projects with changing or short-term signs.
Fluted Poles: Stylish and Strong
Fluted poles mix style with strength. Their grooved design looks fancy, making them great for cities, parks, or historic areas. Even with their nice look, they are tough and steady.
Benefits of Fluted Poles:
- Better Looks: Grooves add style to match decorative spaces.
- Strong Design: Holds heavy signs and handles bad weather well.
- Custom Choices: Comes in different colors and finishes to fit the area.
These poles are perfect for permanent setups where looks and strength both matter. They improve the area’s appearance while keeping signs secure.
Note: Use special brackets with fluted poles to keep their stylish look.
Picking the right specialty pole helps meet both design and practical needs for traffic signs.
Types of Traffic Sign Brackets and Their Compatibility
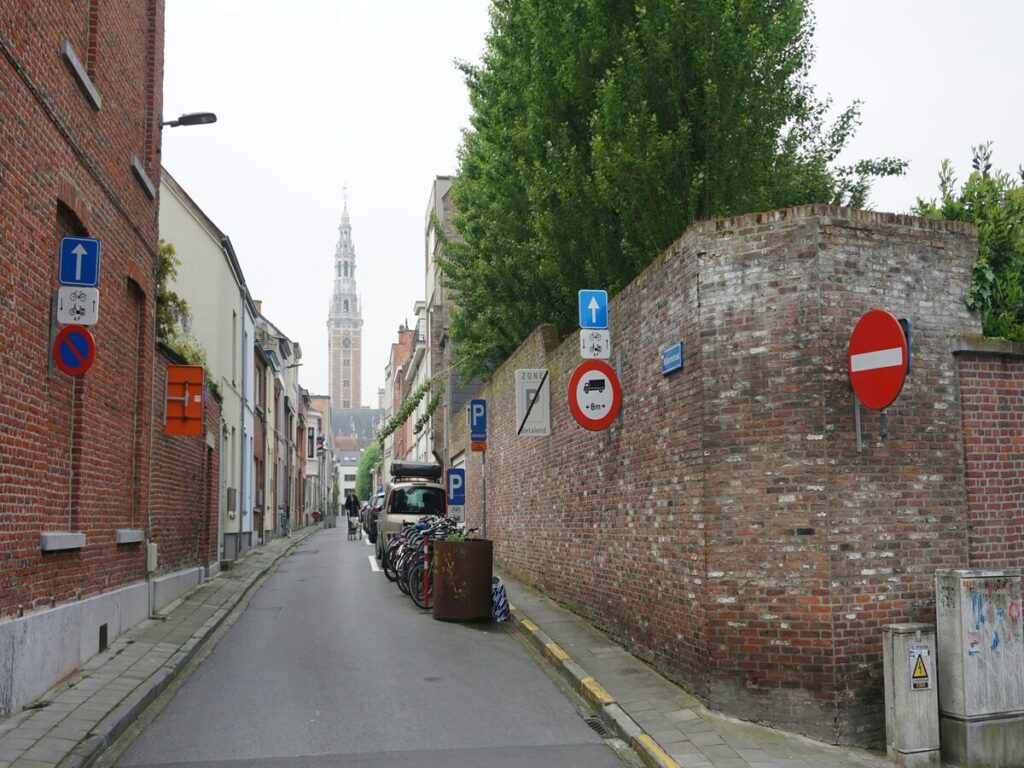
Bolt-On Brackets for U-Channel Poles
Bolt-on brackets are great for attaching signs to U-channel poles. They fit tightly into the pole’s slots, keeping signs steady and secure. These brackets work well in places where safety is very important.
Here’s why bolt-on brackets are a good choice:
- The BoltGuard kit has 3 tamperproof nuts and 2 one-way security bolts for strong connections.
- Tamperproof nuts and one-way bolts stop people from removing signs without tools.
- When installed, the nuts lock together, making removal very hard.
These features make bolt-on brackets perfect for U-channel poles in busy or risky areas. They keep signs firmly in place, even in tough conditions.
Saddle Brackets for Square Poles
Saddle brackets are made to fit the flat sides of square poles. They hold signs securely, making them great for cities and business areas where square poles are common.
Here’s what makes saddle brackets effective:
| Feature | Description |
|---|---|
| Patent | U.S. Patent D885,868 |
| Granted | June 2, 2020 |
| Benefits | Makes fence panel attachment easy, stops damage, blocks trespassers |
| Durability | Lasts over 15 years |
| Material | Made from hot-dipped, 13-gauge, galvanized steel |
| Security | Strong protection for construction sites |
These brackets are easy to install and last a long time. Their strong design makes them a reliable option for square poles, even in busy or harsh environments.
U-Bolt Brackets for Round Poles
Round poles need special brackets because of their curved shape. U-bolt brackets are a popular choice for these poles. They wrap around the pole and hold the sign tightly with bolts.
U-bolt brackets are useful because they:
- Spread the sign’s weight evenly, reducing stress on the pole.
- Keep signs secure against wind and shaking, making them good for highways.
- Fit different pole sizes, offering flexibility for various uses.
Adding anti-slip gaskets or banding systems improves their grip. This makes U-bolt brackets a strong and flexible option for round poles in both cities and rural areas.
Universal Brackets for Many Uses
Universal brackets work with many pole types and uses. They are flexible and easy to use for different setups. These brackets fit U-channel, square, and round poles, making them very handy.
Universal brackets are strong and can be used for more than traffic signs. They are great for both work and home projects. Below is a list of their features and uses:
| Feature/Application | Description |
|---|---|
| Mounting Bracket | 1.5″ wide surface for attaching items |
| Standoff | Keeps items 8″ away from walls or poles |
| Material | Made of tough zinc-plated steel |
| Antenna Mounting | Holds antennas securely for better signal strength. |
| Surveillance Cameras | Keeps cameras steady for clear property monitoring. |
| Wireless Radio Mounting | Supports radios for strong and stable connections. |
| Lighting Applications | Helps set up lights for better brightness. |
| Garage Organization | Hangs tools like ladders and hoses neatly. |
| Hold Pipes and Molding | Keeps pipes and molding in place for easy access. |
These brackets are made from durable zinc-plated steel. They resist bad weather and last a long time. The standoff feature keeps items safely away from poles or walls. This helps prevent damage and makes the setup last longer.
For traffic signs, universal brackets are a smart choice. They work with different pole types and make setups simple and secure.
Tip: Use universal brackets for projects needing strong and flexible tools. They save time and reduce the need for extra parts.
Specialty Brackets for Unique or Fancy Needs
Specialty brackets are made for special setups where regular brackets don’t work. They are perfect for decorative poles or tricky installations. These brackets look nice and work well at the same time.
Decorative poles, like fluted or fancy designs, need brackets that match their style. Specialty brackets come in different looks to blend with the pole’s design. This keeps the setup looking neat and stylish.
For tricky setups, specialty brackets solve problems like odd pole shapes or tight spaces. Some brackets fit curved poles, while others adjust for exact placement.
Here are some places specialty brackets are useful:
- Historic Districts: Antique-style brackets match old-fashioned areas.
- Parks and Recreational Areas: Brackets blend with nature for a clean look.
- High-Wind Zones: Strong brackets keep signs safe in windy spots.
- Temporary Installations: Quick-release brackets make setups easy to move.
Specialty brackets improve both the function and look of your traffic sign setup. Picking the right bracket helps balance usefulness and style.
To dive deeper into the types of sign brackets available and how each one functions in real-world applications, be sure to check out our full breakdown in Types of Traffic Sign Brackets: A Complete Guide for Installers and Engineers.
Installation Methods for Traffic Sign Brackets
Tools You Need for Installation
To install traffic sign brackets, you need the right tools. These tools make the job easier and keep signs steady. Here’s what you’ll need:
- Brackets:
- L Mount Brackets: Simple to use for indoor or outdoor signs.
- Flared Leg Brackets: Strong brackets for heavy signs in windy areas.
- Clips:
- Back to Back Clips: Attach two signs together, works with many materials.
- D Clips: Connect signs to poles or walls, available in different sizes.
- Clamps:
- Pole Clamps: Hold signs firmly on poles, even in bad weather.
Having these tools ready before starting saves time and ensures a neat job.
How to Install U-Channel Pole Brackets
Putting brackets on U-channel poles is easy. Follow these steps:
- Clean the Pole: Wipe off dirt so the bracket fits well.
- Place the Bracket: Line it up with the slots on the pole.
- Add Bolts: Push bolts through the bracket and pole slots.
- Tighten Nuts: Use a wrench to secure the nuts, but don’t overtighten.
- Check Everything: Make sure the bracket and sign are secure.
For extra safety, use tamperproof nuts and one-way bolts in busy areas.
How to Install Square Pole Brackets
Square poles need special brackets to fit properly. Below is a table of materials you’ll need:
| Materials Needed to Mount the AP on a Vertical Pole | In Kit |
|---|---|
| One wall mount bracket | Yes |
| Four M6 x12mm hex head bolts | Yes |
| Two stainless steel band clamps (adjustable 2″–5″) | Yes |
| Two stainless steel band clamps (adjustable 5″–8″) | Yes |
| 10 mm box-end wrench | No |
| Outdoor rated shielded ethernet cable | No |
| Ground lug (provided with the access point) | Yes |
| Ground block and rod | No |
| Crimping tool for ground lug | No |
| #6 AWG ground wire | No |
Steps to install:
- Attach the Bracket: Use band clamps to secure the wall mount bracket to the pole.
- Align the Sign: Place the sign correctly on the bracket.
- Fasten Bolts: Tighten the hex head bolts to hold the sign in place.
- Check Stability: Make sure everything is tight and secure.
These steps help you set up square poles safely and professionally.
Step-by-Step Guide for Round Pole Brackets
Putting brackets on round poles needs care for a strong setup. Follow these simple steps to do it right:
- Measure the Pole Size
Use a tape measure to check the pole’s size. This helps pick a bracket that fits snugly. - Get the Bracket and Tools Ready
Gather the U-bolt bracket, gaskets, and bolts. Make sure nothing is broken or missing. - Place the Bracket on the Pole
Put the bracket at the height you want. Make sure it’s straight to keep the sign level. - Add the U-Bolts
Push the U-bolts through the bracket holes and around the pole. Use gaskets between the pole and bracket for better grip. - Tighten the Bolts
Use a wrench to tighten the nuts on the U-bolts. Don’t make them too tight to avoid damage. - Attach the Sign
Line up the sign with the bracket holes. Insert bolts through both and tighten them securely. - Check Everything
Look at the sign to ensure it’s straight and stable. Make sure all bolts are tight and the bracket holds firmly.
Tip: Use stainless steel bolts to stop rust and weather damage.
Avoiding Common Installation Mistakes
Mistakes can make signs unsafe or weak. Here are errors to avoid:
- Wrong Bracket Size
A bracket that’s too big or small won’t fit well. Always measure the pole first. - Skipping Gaskets
Without gaskets, the bracket might slip or move. This makes the sign less steady, especially in windy spots. - Tightening Too Much
Over-tightening can break the bracket or pole. Tighten just enough to hold everything securely. - Crooked Signs
Signs that aren’t straight are hard to read. Check the position before tightening bolts. - No Weatherproofing
Using regular bolts can cause rust. Pick galvanized or stainless steel for outdoor use.
Note: Check your setup often to fix problems early and keep signs safe.
Practical Tips for Choosing the Right Bracket
Checking Weather Resistance and Strength
When picking a traffic sign bracket, think about how it handles weather. A strong bracket lasts longer and works better in tough conditions. Weak brackets can break in bad weather, causing safety problems.
Here are some things to consider:
- Bad Weather Effects: Heavy rain or snow can weaken metal brackets. This makes them less strong and more likely to fail.
- Good Materials: Brackets with rust-proof coatings or strong designs last longer. These materials stop rust and wear, keeping the bracket steady.
- Regular Checks: Look for damage often to catch problems early. This helps avoid sudden failures and keeps the bracket working well.
For windy or stormy areas, pick heavy-duty brackets. Stainless steel or galvanized steel brackets are great choices. They resist rust and stay strong in harsh weather.
Tip: Always read the maker’s guide to see if the bracket fits your weather needs.
Looking at Installation Ease
How easy it is to install a bracket matters too. Simple-to-install brackets save time and effort. They also lower the chance of mistakes during setup.
Choose brackets with features that make installation simple:
- Pre-Made Holes: These help you line up the sign and bracket fast.
- Adjustable Parts: Brackets that adjust fit different pole sizes and shapes. This makes them useful for many projects.
- Clear Directions: Easy-to-follow instructions help you finish the job quickly.
For big projects, pick brackets needing fewer tools. Universal brackets often have easy mounting systems for many pole types. They work well for both short-term and long-term setups.
Note: Before starting, gather tools and check if the bracket fits your pole.
Following Local Rules
Traffic sign brackets must follow local rules to be safe and legal. Using the wrong brackets can lead to fines or costly fixes.
Here’s how to follow the rules:
- Know the Standards: Pick brackets that meet rules like MUTCD in the U.S. These rules make sure the bracket is safe and works well.
- Match the Pole: Some rules say which brackets go with certain poles. For example, breakaway brackets are needed in fast-driving areas to lower crash risks.
- Ask for Help: If unsure, talk to your local transportation office. They can tell you what materials and designs are allowed.
Using the right brackets keeps things safe and avoids legal trouble. Always choose brackets that meet or beat the required standards.
Reminder: Keep proof of the bracket’s compliance for checks or future use.
Balancing Cost-Effectiveness and Longevity
Picking a traffic sign bracket means balancing price and durability. You need one that fits your budget and lasts a long time. Weak brackets can break early, costing more in repairs. By thinking about key points, you can save money and keep signs secure.
Factors That Affect Cost-Effectiveness
Many things impact how cost-effective a bracket is. Knowing these helps you choose wisely:
- Material Quality: Strong metals like galvanized or stainless steel resist rust. They cost more at first but need less fixing later.
- Easy Installation: Brackets needing fewer tools save time and labor costs. Universal brackets are simple to set up and save money.
- Weather Resistance: In bad weather, sturdy brackets stop damage. This lowers replacement costs and keeps signs safe.
Tip: Spending more on good brackets avoids frequent repairs and replacements.
Comparing Short-Term and Long-Term Costs
Cheap brackets may seem good but wear out fast. This means spending more to replace them. Durable brackets cost more upfront but last longer, saving money over time.
Here’s a quick comparison:
| Bracket Type | Initial Cost | Maintenance Needs | Longevity | Overall Value |
|---|---|---|---|---|
| Low-Cost Bracket | Low | High | Short (1-3 years) | Poor |
| Weatherproof Bracket | Medium | Low | Long (5-10 years) | Excellent |
| Heavy-Duty Bracket | High | Very Low | Very Long (10+ years) | Outstanding |
Spending more upfront often gives better value later.
Tips for Balancing Cost and Durability
Follow these tips to pick a bracket that’s both affordable and strong:
- Check Your Area: If your area has strong winds or rain, pick weatherproof brackets. They last longer and save money.
- Think About Sign Weight: Heavy signs need tough brackets. Using weak ones can cause damage and extra costs.
- Plan Ahead: If signs might change, use adjustable brackets like Telespar. They save money on future setups.
- Follow Safety Rules: Pick brackets that meet standards like MUTCD. This avoids fines and ensures safety.
Note: Choose durability over cheap options to avoid surprise costs.
By considering these tips, you can find a bracket that’s affordable and lasts. This keeps your signs safe and working for years.
Choosing the right sign bracket keeps signs safe and easy to see. Brackets must match pole types like the common 2 ⅜” round post. This makes installation simple and helps signs last longer. For example, the 2 ⅜” Post Mount Bracket lets you add more signs to poles. It’s flexible and useful for many setups. Strong and compatible brackets are important for working well and lasting long. Knowing your needs and local rules helps you pick the best option. This ensures safety while making your setup efficient.
FAQ
What is the best bracket for high-wind areas?
Choose strong brackets made of galvanized or stainless steel. These materials stop rust and add strength. U-bolt brackets or reinforced saddle brackets are great for windy places. Look for weatherproof features to make them last longer.
Tip: Pick brackets made for strong winds to avoid replacing them often.
Can I use one bracket type for all pole shapes?
Universal brackets are the best choice for different pole types. They work with U-channel, square, and round poles. These brackets save time and need fewer tools. But always check if they fit your pole size and sign weight.
How do I prevent brackets from rusting?
Use brackets with coatings like galvanized or powder-coated finishes. Stainless steel brackets also fight rust. Check and clean them often to remove dirt or water that can cause rust.
Are there brackets for decorative poles?
Yes, special brackets are made for fancy poles like fluted or antique designs. These brackets look nice and work well. They come in different styles to match the pole while holding the sign securely.
Note: Make sure the bracket matches the pole’s look and is safe to use.
What tools do I need for bracket installation?
You’ll need a wrench, bolts, nuts, and maybe a tape measure. For round poles, use U-bolts and gaskets. Square poles might need band clamps. Always read the bracket’s guide to know the exact tools you’ll need.
Reminder: Get all tools ready before starting to save time.

