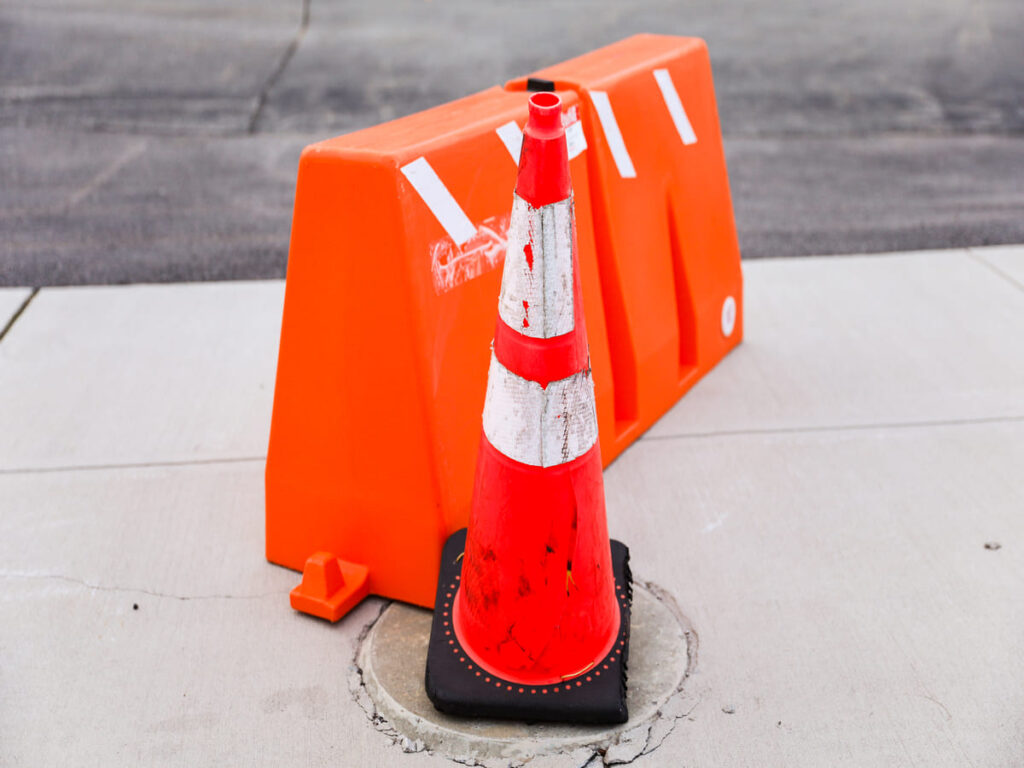
¿Alguna vez has pensado en cómo conos de trafico Ayuda a la seguridad? Vinculando conos, puedes hacer un barrera. Esto es ideal para controlar el tráfico o marcar las zonas de peligro.. Estas barreras se usan en muchos lugares. Guían autos en áreas de construcción, Guardar lugares de estacionamiento, o conducir multitudes en los eventos. Son fáciles de usar y funcionan muy bien.
Descripción general de las barreras del cono
Definición
Una barrera de cono es una herramienta para la seguridad. Vincula los conos de tráfico para hacer un límite. Esto ayuda a controlar el tráfico o bloquear las áreas. Estas barreras se ajustan a diferentes espacios y necesidades. Son luz, fácil de usar, y fácil de ver. Esto los hace excelentes para uso rápido.
He aquí por qué las barreras del cono son útiles:
| Característica clave | Descripción |
|---|---|
| Diseño ajustable | Puede estirarse desde 4 a 10.5 pies para adaptarse a los espacios. |
| Compatibilidad con conos | Hecho para adjuntar de forma segura a los conos de tráfico para una fácil configuración. |
| Mejoras de visibilidad | Los colores brillantes y las partes reflectantes los hacen visibles con poca luz. |
Estas características hacen de las barreras de cono una buena opción para las zonas de seguridad..
Objetivo
Por qué usar las barreras del cono? Hacen más que marcar espacios: mantienen a las personas seguras. Aquí hay algunas razones para usarlos:
- Guiar a las personas y los automóviles para evitar accidentes en áreas ocupadas.
- Mantenga a las personas seguras marcando zonas protegidas.
- Evitar que los automóviles ingresen a las áreas de trabajo.
- Use colores brillantes para crear barreras claras para todos.
- Menores riesgos de accidentes marcando carriles y zonas de peligro.
Si es para un sitio de trabajo, evento, o emergencia, Las barreras de cono ayudan a mantener las cosas seguras y organizadas. Son simples pero muy útiles.
Materiales y accesorios para barreras de cono
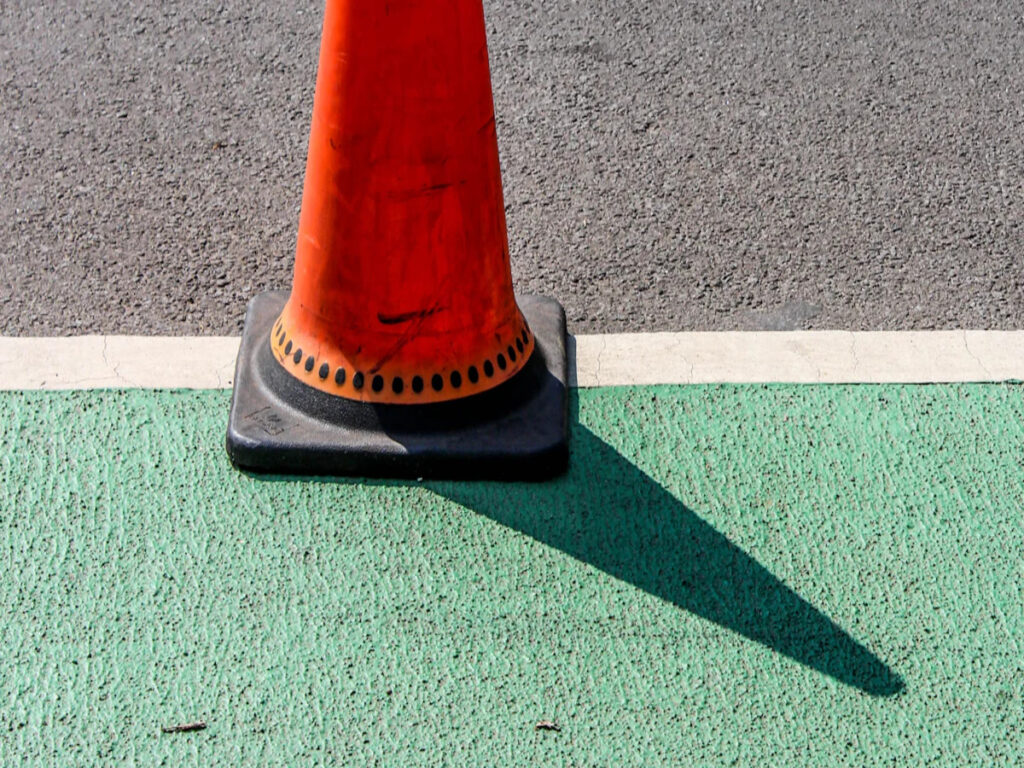
Hacer una barrera de cono necesita los artículos correctos. Veamos lo que necesitará.
Materiales principales: conos de tráfico y herramientas de conexión
Los conos de tráfico son la base de cualquier barrera de cono. Están hechos de materiales fuertes como plástico, CLORURO DE POLIVINILO, o goma. Cada tipo tiene sus propias fortalezas:
| Material | Características | Beneficios para la fuerza |
|---|---|---|
| Plástico | Difícil, se pone de pie para los golpes de viento y coche | Muy fuerte y duradero |
| CLORURO DE POLIVINILO | Durable, se dobla fácilmente, Resiste el clima y los productos químicos | Ligero y simple de mover |
| Goma | Elástico, absorbe los choques, empuñadura bien, dura mucho | Se mantiene estable en lugares ventanos |
También necesitará herramientas para conectar los conos. Estas herramientas mantienen la barrera segura y en su lugar.
Tipos de herramientas de conexión: cinta, cadenas, verja, Cono Top Barrier
Hay diferentes herramientas para vincular conos. Cada uno trabaja para un trabajo específico:
- Cinta de barreras: Ligero y rápido para configurar. Excelente para uso a corto plazo, como áreas de estacionamiento o zonas de trabajo..
- Cadena de plástico: Flexible y bueno para espacios más largos. Lo mejor para las áreas que necesitan barreras más fuertes, Como sitios de trabajo.
- Barra de cono: Fuerte y firme. Perfecto para puntos ocupados o configuraciones a largo plazo.
- Cono Top Barrier: Diseñado para caber en la parte superior de un cono de tráfico, Mejorar sus capacidades de visibilidad y señalización. A menudo se usa con una barrera de cono naranja, Puede incluir características como materiales reflectantes o barreras retráctiles, haciéndolo efectivo para dirigir el tráfico y marcar áreas peligrosas.
Elija la herramienta que funcione mejor para sus necesidades.
Complementos adicionales: Luces LED y pesas
Quiere mejorar su barrera de cono? Agregar Luces LED o pesas. Las luces LED hacen que los conos fueran más brillantes en la oscuridad. Ellos brillan rojo o ámbar, Ayudar a las personas a verlos mejor. Esto reduce los riesgos de accidentes y aumenta la seguridad. Los pesos ayudan a los conos permanecer en su lugar. Son útiles a viento o de mal tiempo..
Con estos artículos, Puede construir una barrera de cono que sea segura y confiable.
Cómo elegir los mejores accesorios

Elegir los accesorios correctos hace que su barrera de cono sea segura y útil. Veamos por eso paso a paso.
Piensa en la ubicación
Donde usas la barrera importa mucho. Pregúntate: A donde irá?
- Para espacios abiertos Como estacionamientos o eventos, usar Cadena o barra de cono de seguridad. Estos conos de seguridad con cadena pueden cambiar de tamaño para que se ajuste al área.
- Para lugares ventanos, agregar pesas Para mantener los conos de seguridad con la cadena estable en mal tiempo.
- Para áreas oscuras, usar cinta reflectante o luces LED. Estos hacen que la barrera del cono de seguridad sea fácil de ver y más segura.
Consejo: Haga coincidir sus accesorios con la ubicación. Esto ayuda a que la barrera del cono de seguridad funcione bien.
Centrarse en la seguridad y la fuerza
Seguridad es lo más importante. Una fuerte barrera de cono de seguridad detiene los accidentes y mantiene a las personas seguras.
- Usar conos pesados en puntos arriesgados como zonas de construcción. No se caerán fácilmente.
- Para uso a largo plazo, elegir herramientas fuertes como barras de cono de tráfico. Estos se mantienen mejor que la cinta o las cadenas.
- En lugares ocupados, Los elementos brillantes o reflectantes hacen que la barrera sea fácil de notar.
Nota: Una barrera de cono de seguridad débil o difícil de ver puede causar problemas. Asegúrate de que sea fuerte y visible.
Haz que sea fácil configurar
Configurar y derribar debe ser rápido y simple. Elija herramientas fáciles de usar.
- Cinta de barrera es ligero y rápido para configurar. Es ideal para uso a corto plazo.
- Barra de cono de tráfico retráctil es fácil de ajustar y eliminar. Son perfectos para cambiar espacios.
- No elija herramientas que sean demasiado difíciles de usar a menos que sea necesario.
Para la punta: Pon a prueba tu barrera de cono antes de usarla. Esto ahorra tiempo y asegura que funcione bien.
Al elegir los accesorios correctos, Tu barrera de cono será segura, fuerte, y fácil de manejar.
Guía paso a paso para crear una barrera de cono

Paso 1: Elija los conos de tráfico correctos
Elija conos de tráfico que se ajusten a sus necesidades. Los conos correctos hacen que su barrera sea más segura y fuerte. Busque estas características:
- Altura: Conos más altos (28-36 pulgadas) son mejores para áreas ocupadas. Son más fáciles de ver y mantenerse estables en el viento.
- Peso: Los conos pesados con fondos pesados no se darán una propina fácilmente.
- Visibilidad: Colores brillantes como el naranja o el verde se destacan. Las rayas reflectantes ayudan por la noche o con luz tenue.
- Durabilidad: Use conos hechos de PVC o plástico fuerte. Estos duran más y manejan el mal tiempo.
- Portabilidad: Los conos apilables son fáciles de mover y almacenar.
Elegir los conos de tráfico correctos hace que su barrera sea segura y útil.
Paso 2: Seleccione una herramienta de conexión
Elija una herramienta para vincular sus conos. La herramienta depende de sus necesidades. Para uso a corto plazo, La cinta liviana funciona bien. Para barreras de cono más fuertes, Use cadenas o barras de cono de tráfico. La cinta reflectante es ideal para uso nocturno. Las barras de cono de tráfico expandibles funcionan mejor para áreas que necesitan cambios frecuentes. Piense en la ubicación y el propósito antes de elegir.
Paso 3: Adjunte de forma segura la herramienta a los conos
Conecte los conos con la herramienta elegida. Asegúrese de que todo esté apretado y seguro. Las conexiones sueltas pueden hacer que la barrera falle. Para conos de seguridad con cadena, envuélvalos alrededor de las tapas del cono con fuerza. Para bares, deslíalos en las ranuras del cono hasta que se bloqueen. Verifique cada conexión para asegurarse de que sea estable.
Paso 4: Organizar y ajustar los conos
Configure los conos para formar su barrera de cono. Colocarlos 20 pies separados para un límite claro. Mire desde la vista de un conductor para verificar la visibilidad. Si los conos se mueven durante el día, Arregle sus posiciones. Los controles regulares mantienen su barrera de cono de seguridad segura y efectiva.
Sigue estos pasos para construir un fuerte, visible, y barrera de cono lista para usar.
Consejos de mantenimiento para barreras de cono
Mantener su barrera de cono en la mejor forma no tiene que ser difícil. Con un poco de cuidado, Puede asegurarse de que permanezca seguro y efectivo durante mucho tiempo.. Así es como puedes hacerlo.
Inspeccionar regularmente los accesorios
Eche un vistazo a su barrera de vez en cuando. Revise los conos, cinta, cadenas, o barras para cualquier signo de desgaste o daño. Busca grietas, Colores que se desvanecen, o conexiones sueltas.
Consejo: Preste atención adicional a la cinta reflectante o las luces LED. Si no funcionan correctamente, Es posible que su barrera no sea visible por la noche.
Atrapando problemas temprano, Puedes solucionarlos antes de que se conviertan en problemas más grandes.
Limpieza y mantenimiento
La suciedad y la mugre pueden acumularse en conos y accesorios con el tiempo. Esto puede hacerlos menos visibles y menos efectivos. Use un paño húmedo o jabón suave para limpiar los conos y las herramientas de conexión. Para cinta reflectante, límpielo suavemente para mantener su brillo.
Para la punta: Limpia tu barrera después de un uso intensivo o mal tiempo. Esto lo mantiene bien y funciona bien.
Una barrera limpia no solo parece profesional, sino que también garantiza la máxima visibilidad.
Reemplace las piezas desgastadas o dañadas
A veces, Las piezas se desgastan, no importa qué tan bien las cuidas. Si un cono se rompe o se rompe una cadena, Reemplácelo de inmediato. No espere a que falle por completo.
Nota: Siempre mantenga algunos conos y accesorios de repuesto. Por aquí, Puede cambiar rápidamente las piezas dañadas sin interrumpir su configuración.
Reemplazando las partes desgastadas, Mantendrá su barrera confiable y segura para todos.
Con estos simples pasos, Su barrera de cono permanecerá en excelentes condiciones y está lista para usar cuando la necesite.
Soluciones de barrera de cono de Optsigns
Tienda de accesorios todo en uno
Necesita herramientas para una fuerte barrera de cono? OPTsigns lo tiene todo! Optsigns vende muchos accesorios Para hacer que las barreras sean seguras, visible, y fácil de configurar. Ya sea que esté manejando el tráfico, Organizar un evento, o bloquear las áreas, ellos tienen lo que necesitas.
OPTsigns ofrece barras de cono de tráfico de alta calidad. Estas barras de cono retráctiles son ligeras y fáciles de transportar., Ideal para uso temporal. Algunos modelos incluso tienen láminas reflectantes para ayudar a las personas a verlos con poca luz.
Cambiar un cono en una barrera es fácil y útil para la seguridad a corto plazo. Estas barreras ayudan a mantener a las personas seguras, prevenir accidentes, y trabajar en muchos lugares. Aquí están las principales ventajas:
| Principales ventajas | Detalles |
|---|---|
| Mejor seguridad | Las barras de cono hacen barreras claras, Mantener a los conductores y caminantes a salvo. |
| Menos accidentes | Bajan las posibilidades de accidentes marcando carriles y puntos de peligro., Ayudar al tráfico a moverse sin problemas. |
| Fácil de usar | Ligero y portátil, son fáciles de mover y ajustar. |
| Ahorra dinero | Barato y reutilizable, son una opción económica en comparación con las barreras fijas. |
| Funciona en cualquier lugar | Bueno para adentro o afuera, se ajustan a diferentes espacios y condiciones. |
Usar buenos materiales y cuidar su barrera lo mantendrá fuerte y listo para su uso en cualquier situación..
