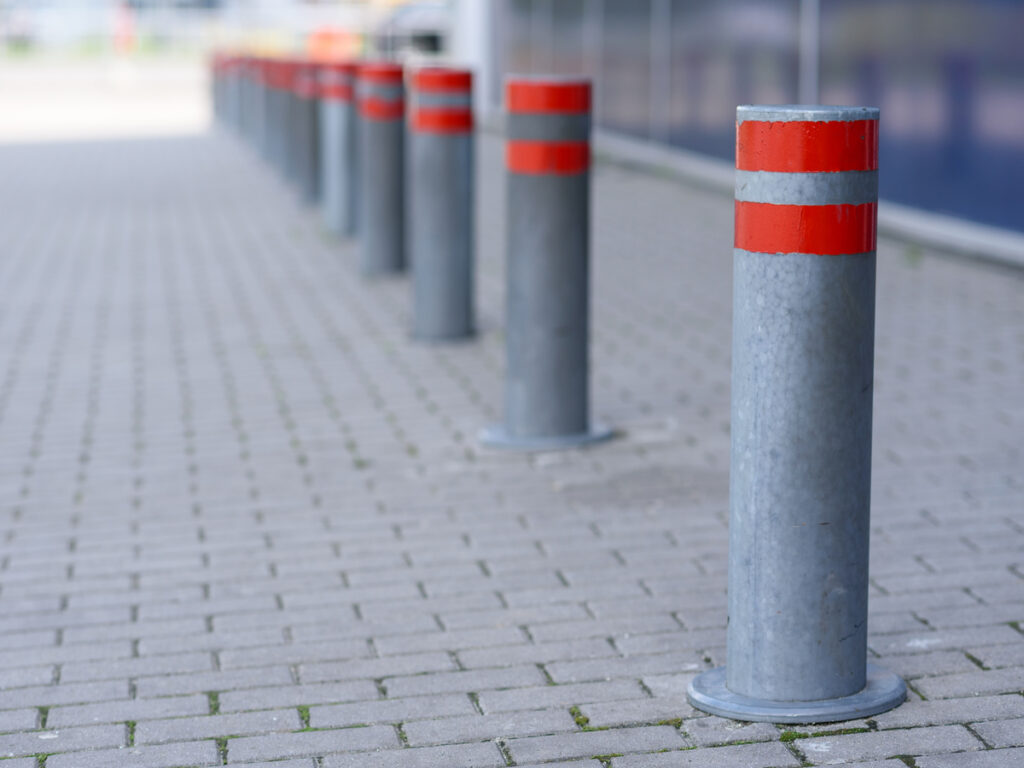
After a collision, inspecting every bollard at the site becomes critical. Ignoring even minor impact damage can lead to severe safety risks and public safety concerns, especially in high-traffic locations. A damaged bollard may not protect the site or people as intended. Site managers should check each bollard for visible and hidden problems. They must ensure all bollards at the site meet safety and installation standards. Proper bollard installation and regular site inspections help prevent further impact and keep safety a top priority.
OPTRAFFIC provides durable bollards and expert installation guidance, ensuring your site is equipped with high-quality, reliable protection. With regular maintenance and inspections, OPTRAFFIC helps you keep your bollards in optimal condition, enhancing safety and preventing potential hazards in high-traffic areas.
Key Takeaways
- Always secure the area and wear proper safety gear immediately after a bollard collision to protect people and workers.
- Inspect every bollard carefully for visible damage, tilt, foundation cracks, and hidden risks to ensure site safety.
- Repair minor surface damage quickly, but replace bollards with severe bends, cracks, or foundation problems to maintain protection.
- Keep detailed records of inspections, repairs, and incidents to support safety, insurance claims, and future maintenance.
- Perform regular inspections and use protective covers to extend bollard life and prevent costly damage.
Immediate Safety Steps
Secure the Area
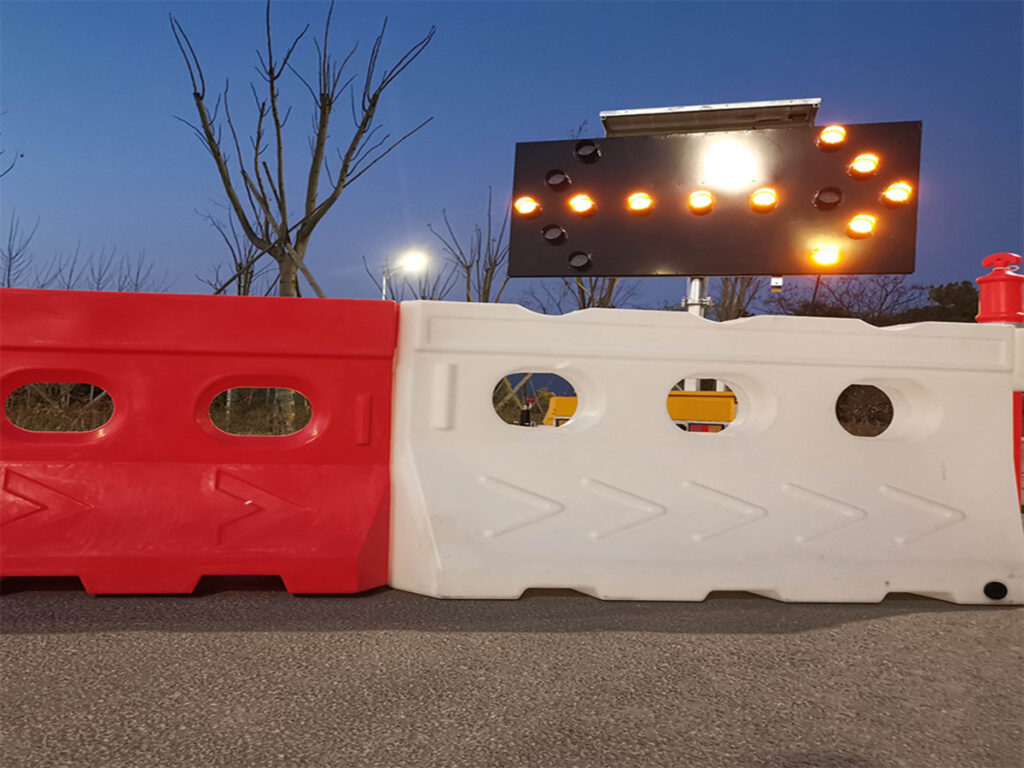
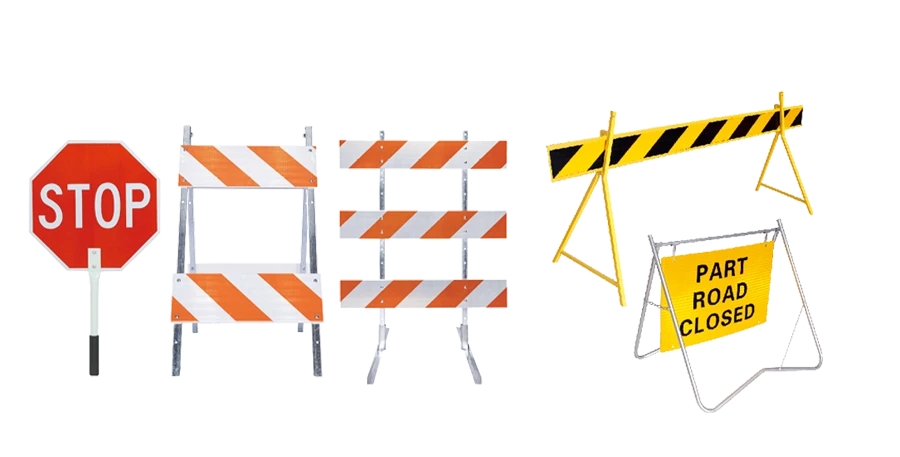
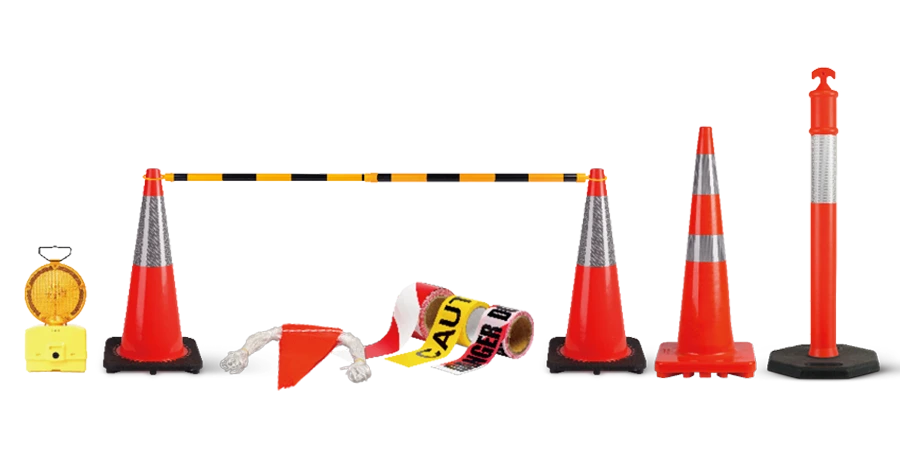
After a collision, the first priority involves securing the area around the impacted bollard. Site managers should act quickly to prevent further accidents. They can use cones, caution tape, or temporary barriers to block off the affected zone. This step keeps pedestrians and vehicles away from unstable bollards and reduces the risk of injury. If the site includes multiple bollards, each one near the impact zone should be checked for movement or instability.
Tip: Always post clear warning signs to alert everyone about the damaged bollard and restricted access.
A damaged bollard may not provide the same level of protection as before. People should avoid leaning on or touching any bollards until a full safety inspection takes place. If the collision occurred in a busy area, staff should guide traffic and pedestrians to alternate routes. Quick action helps maintain safety and order at the site.
Use PPE
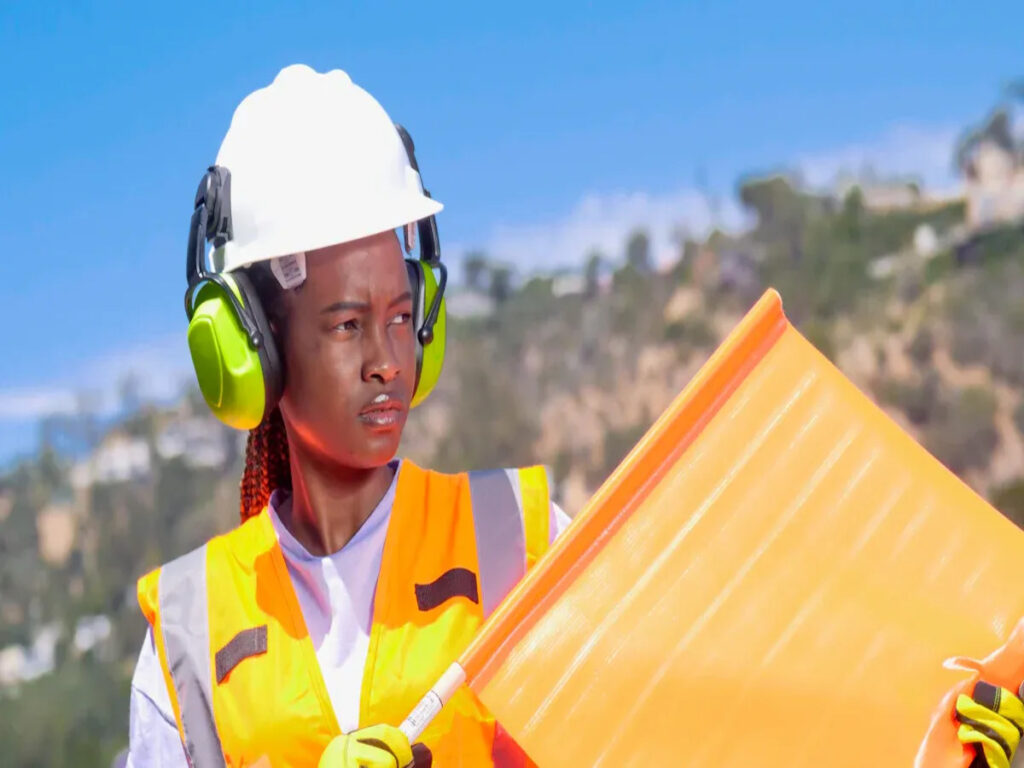
Before starting any inspection or repair, workers must wear proper personal protective equipment (PPE). This includes high-visibility vests, hard hats, gloves, and steel-toed boots. PPE protects workers from sharp edges, falling debris, or unexpected movement of the bollard.
Workers should also use eye protection when examining or repairing bollards, especially if the impact caused cracks or exposed metal. In some cases, a damaged bollard may have sharp or jagged surfaces. Gloves help prevent cuts and scrapes during the inspection.
Note: Safety always comes first. Never inspect or repair bollards without the right gear.
By following these immediate steps, teams can reduce hazards and prepare for a thorough bollard impact damage assessment. These actions set the foundation for a safe and effective repair process.
Bollard Inspection Checklist
Visual Damage
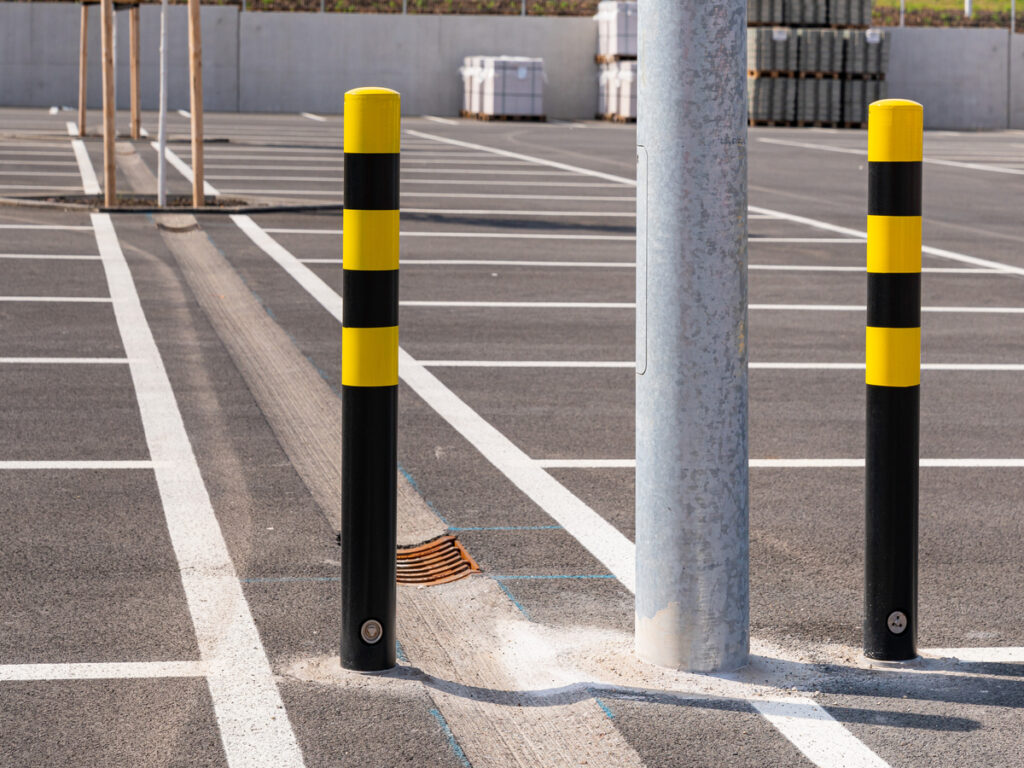
A thorough site assessment begins with checking each bollard for visible damage. Inspectors should walk around the site and look at every side of the impacted bollard. They should check for dents, scrapes, paint loss, or bent sections. These signs often show where the impact happened and how strong it was.
Inspectors should use a flashlight to see any cracks or splits in the metal. Sometimes, the damage hides on the side facing away from the main traffic flow. They should also check the top and base of the bollard for chips or missing pieces. If the road bollard has a cover, remove it to check for hidden cracks or rust.
A simple checklist helps keep the inspection organized:
- Check for dents, bends, or warping on all sides.
- Look for cracks, splits, or holes in the surface.
- Inspect paint for chips, scrapes, or rust spots.
- Examine the base for loose or missing bolts.
- Remove covers to check for hidden visible damage.
Tip: Take clear photos of all damage during the site assessment. Photos help with repair planning and insurance claims.
Safety Hazard Identification
After checking for visible damage, inspectors must identify any safety hazards at the site. A damaged bollard can create risks for people and vehicles. Inspectors should look for sharp edges or exposed metal that could cut someone. They should also check if the bollard leans or wobbles, which means it may not protect the site as intended.
A table can help organize the main hazards to watch for:
| Hazard Type | What to Check For | Action Needed |
|---|---|---|
| Sharp Edges | Jagged metal, broken covers | Mark and repair |
| Instability | Leaning, loose base, movement | Secure area, assess |
| Trip Hazards | Broken concrete, debris | Clear and repair |
| Reduced Protection | Bollard out of line or bent | Plan for repair |
Inspectors should mark any hazards with cones or tape. They should report all findings to the site manager. This step ensures the site remains safe until repairs happen.
Note: A complete site assessment includes both visible damage and hidden risks. Inspectors should never assume a bollard is safe without a full check.
Assessing Tilt and Deformation
Tilt Measurement
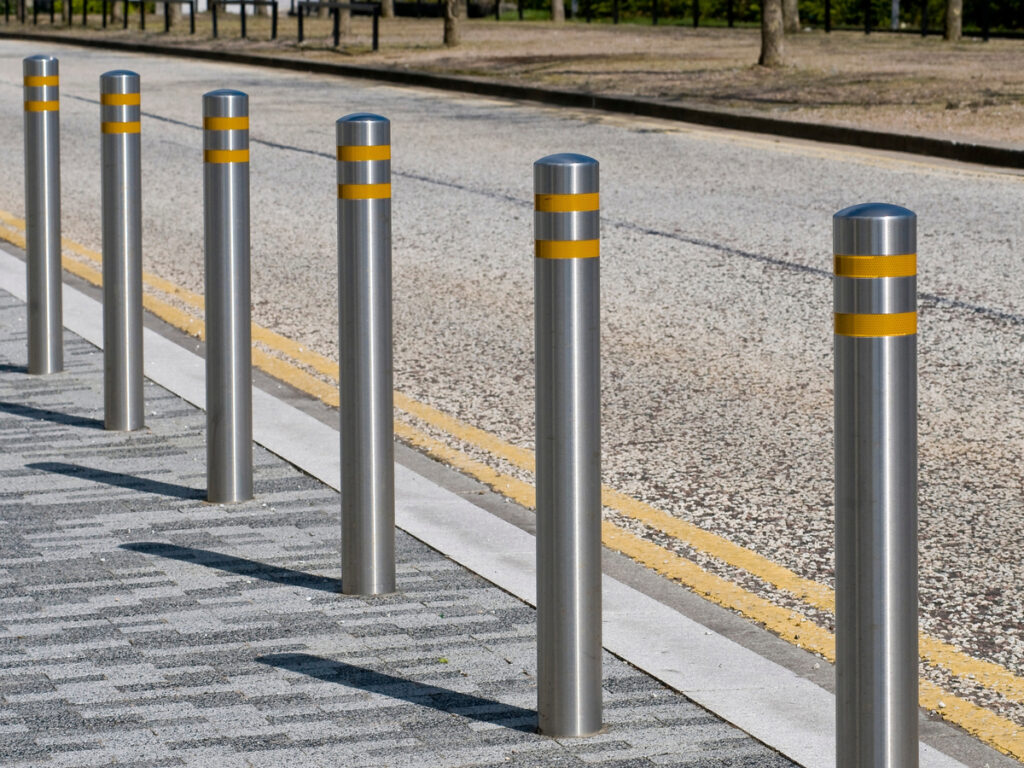
After a collision, tilt measurement becomes a crucial step in assessing the condition of each bollard. Technicians should stand several feet away and view the traffic bollard from multiple angles. They can use a level or a plumb line to check if the bollard stands upright. Even a small tilt may signal deeper problems in the foundation or structure.
A simple process helps ensure accuracy:
- Place a level against the side of the bollard.
- Record any deviation from vertical.
- Compare the tilt to manufacturer guidelines.
- Mark any bollards with visible lean for further inspection.
Tip: A tilt greater than 5 degrees often means the bollard has suffered significant impact or foundation shift. Immediate action is necessary to prevent further damage.
Technicians should check all bollards near the impact site. Sometimes, the force of the impact transfers through the ground and affects nearby bollards.
Impact Load Signs
Signs of impact load help inspectors understand the severity of the collision. Bollards may show bends, creases, or buckling along the shaft. Inspectors should look for stress marks or ripples in the metal. These signs often appear on the side facing the direction of the impact.
A table can help organize what to look for:
| Sign | What It Means |
|---|---|
| Shaft bending | Direct impact, possible core damage |
| Metal creasing | High force, risk of fracture |
| Base distortion | Impact transferred to foundation |
| Paint flaking | Sudden force, surface stress |
Inspectors should document all signs of impact. They should note if the bollard has shifted at the base or if the surrounding ground shows cracks. Multiple bollards may need assessment if the impact was severe.
Note: Early detection of tilt and impact load signs helps prevent future failures. Proper assessment ensures that each bollard continues to protect people and property.
Bollard Foundation Check
Concrete Base Cracks
Inspectors should always check the concrete base after a bollard collision. Cracks in the base often signal deeper problems. When a vehicle hits a bollard, the force can travel down to the foundation. Even small cracks can weaken the support and reduce the bollard’s ability to protect the site.
A simple checklist helps inspectors spot issues:
- Look for hairline cracks around the base of the bollard.
- Check for larger splits or broken concrete.
- Tap the concrete gently with a hammer. Listen for hollow sounds, which may mean the base has internal damage.
- Examine the area for loose debris or chunks missing from the foundation.
If inspectors find cracks, they should mark the area and report it to the site manager. Cracked bases can let water in, which may cause further damage over time. Repair teams should address these problems quickly to keep the site safe.
Tip: Take photos of all cracks and damaged areas. These records help with future repairs and insurance claims.
Underground Shift
A strong impact can cause the bollard’s foundation to move underground. This shift may not show above ground, but it can make the bollard lean or wobble. Inspectors should check for signs of movement by gently pushing the bollard from different sides. If the bollard moves or feels loose, the foundation may have shifted.
Other signs of underground shift include:
- Uneven ground around the base.
- Gaps between the bollard and the concrete.
- Soil that looks disturbed or sunken near the site.
If inspectors suspect an underground shift, they should call a professional for a deeper assessment. Bollards with unstable foundations cannot protect the site as intended. Quick action prevents further risk to people and property.
Note: Always include foundation checks in every bollard impact damage assessment. A strong foundation keeps bollards effective and the site secure.
Hidden Structural Issues
Fatigue Signs
Bollards often face repeated stress from traffic and weather. Over time, these forces can cause metal fatigue. Inspectors should look for small cracks or lines along the shaft of each bollard. These marks may appear near the base or at points where the bollard bends after an impact. Fatigue can weaken the structure, making the bollard less effective during another collision.
A checklist helps teams spot fatigue signs:
- Fine cracks along the welds or joints
- Discoloration or rust patches
- Areas where the bollard feels thin or brittle
- Unusual noises when tapping the bollard with a tool
Note: Early detection of fatigue prevents sudden failure. Teams should check all bollards, not just the one directly hit by the impact.
Adjacent Infrastructure
A strong impact can affect more than just the bollard itself. Inspectors must check nearby infrastructure for hidden damage. Sidewalks, curbs, and underground utilities may shift or crack after a collision. If the bollard sits close to a building, the wall or foundation could also show signs of stress.
Inspectors should:
- Examine pavement for new cracks or uneven surfaces
- Check for loose bricks or stones near the bollard
- Look for gaps between the bollard and surrounding concrete
- Inspect utility covers or pipes for movement
Tip: Document all findings with photos. This record helps with future repairs and insurance claims.
A thorough inspection ensures that all bollards and nearby structures remain safe after any impact.
Repair or Replace Bollards
Repairable Damage
Some bollard impacts result in minor issues that teams can address quickly. When a bollard shows only surface dents, small scrapes, or chipped paint, crews often choose to repair it. These types of damage do not affect the core strength or the foundation of the bollard. Workers can sand down rough spots, fill in small cracks, and repaint the surface. If the bollard remains upright and stable, these repairs restore both appearance and function.
Teams should also check the base. If the concrete around the bollard has only hairline cracks, they can seal these with epoxy or patching material. This step prevents water from entering and causing further problems. When bolts at the base feel loose but not broken, tightening or replacing them can secure the bollard again.
A quick checklist for repairable damage includes:
- Surface dents or scrapes that do not reach the core
- Paint loss or rust that has not spread deeply
- Minor cracks in the concrete base
- Loose but undamaged bolts
Tip: Always document each repair with photos and notes. This record helps track the condition of all bollards over time.
When to Replace
Not all bollards can be saved after a collision. Some impacts cause deep structural problems that make replacement the safest option. If a bollard leans more than five degrees, crews should consider it compromised. Severe bends, large cracks, or visible breaks in the metal mean the bollard cannot protect people or property.
Foundation issues also signal the need for replacement. When the concrete base shows wide cracks, missing chunks, or signs of underground shift, the bollard may not stand up to another impact. If the bollard moves easily when pushed, the foundation likely needs a full rebuild.
A table helps summarize when to replace:
| Condition | Action Needed |
|---|---|
| Severe shaft bending | Replace bollard |
| Large cracks or splits | Replace bollard |
| Lean greater than 5 degrees | Replace bollard |
| Foundation shift or collapse | Replace bollard |
| Broken or missing anchor bolts | Replace bollard |
Note: Replacing damaged bollards ensures the site meets safety standards. New installations restore full protection and reduce liability risks.
Crews should always follow manufacturer guidelines when deciding between repair and replacement. Proper assessment keeps all bollards ready to perform their job.
Bollard Installation Review
Proper bollard installation plays a vital role in site safety and long-term durability. When teams follow best practices, they reduce the risk of failure after a collision. Reviewing installation methods helps ensure that bollards provide reliable protection in high-traffic locations. Key considerations for bollard installation include foundation depth, anchoring, and compliance with recognized safety standards. Choosing the right bollard type for each site also improves impact resistance and lowers future repair needs.
Foundation Standards
A strong foundation supports every bollard. Teams must select the correct installation method based on the bollard type and site conditions. Installing fixed bollards often requires deep concrete encasement. The foundation depth should match the impact resistance rating needed for the location. For example, high-security bollards may need a foundation that meets PAS 68 or ASTM F3016 standards. These standards help ensure bollards withstand impacts from vehicles of different sizes and speeds.
| Installation Aspect | Details |
|---|---|
| Foundation Depth | Varies by bollard type and rating; deeper for high-impact zones |
| Spacing Guidelines | 36 to 60 inches apart to prevent vehicle passage |
| Preparation | Remove hazards, clean area (pressure washing, vacuuming moisture) |
| Crash Test Standards | PAS 68, IWA 14-1, ASTM F3016, K ratings (K4, K8, K12) |
Installing removable bollards or installing retractable bollards may require different foundation designs. Each method must provide enough support to keep the bollard stable during impact.
Anchoring Methods
Anchoring methods affect how well bollards perform after a collision. Teams can use surface mounting, adhesive anchors, or drop-in concrete inserts. Installing fixed bollards with concrete encasement offers the highest impact resistance. For some sites, installing removable bollards allows for flexible access while still providing protection. Choosing the right bollard type and installation method depends on the site’s needs and expected threats.
Best practices for anchoring include:
- Using corrosion-resistant materials for long-term durability
- Checking anchor bolts for tightness during routine inspections
- Following manufacturer guidelines for each installation method
Proper anchoring ensures that bollards remain upright and effective, even after repeated impacts. Installing retractable bollards may require specialized anchors to allow smooth operation and secure locking.
Note: Compliance with PAS 68, PAS 170-1, and ASTM F3016 helps teams meet industry standards for safety and performance.
A thorough review of installation methods and foundation standards helps teams choose the right bollard type and maintain site safety.
Repair Procedures
Surface Repairs
Surface repairs address minor damage on bollards after a collision. Teams start by cleaning the bollard to remove dirt, rust, or loose paint. Workers use wire brushes or sandpaper to smooth out dents and scrapes. They fill small cracks or chips with epoxy or metal filler. Once the surface dries, crews sand it again for a smooth finish. A fresh coat of paint protects the bollard from weather and corrosion. These steps restore the appearance and help maintain the strength of the bollard. Surface repairs work best when the damage does not reach the core or affect the bollard’s stability.
Straightening
Some bollards bend or lean after an impact. Straightening returns the bollard to its original position. Workers use hydraulic jacks or heat straightening methods to correct the tilt. Heat straightening involves carefully heating the metal and applying force to realign the bollard. This method works well for steel bollards but must follow strict limits to avoid weakening the material. Research shows that up to three heat straightening cycles cause only small changes in properties like elastic modulus, yield stress, and ultimate stress—about ±15%. However, more cycles can reduce fracture toughness and elongation, especially in A7 and A36 steels.
| Structural Property | Effect of Multiple Heat Straightening Cycles | Recommendation |
|---|---|---|
| Elastic Modulus | Small influence (±15%) | Max 3 cycles for A7/A36 steels |
| Yield Stress | Small influence (±15%) | Max 3 cycles for A7/A36 steels |
| Ultimate Stress | Small influence (±15%) | Max 3 cycles for A7/A36 steels |
| Percent Elongation | Significant reduction | Max 3 cycles for A7/A36 steels |
| Fracture Toughness | Significant reduction | Max 3 cycles for A7/A36 steels |
Teams should always check the manufacturer’s guidelines before straightening any bollard.
Foundation Repair
A strong foundation keeps bollards upright and secure. After a collision, workers inspect the base for cracks or movement. If they find minor cracks, they fill them with concrete patch or epoxy. For larger damage, crews may need to remove the bollard and rebuild the foundation. They pour new concrete and allow it to cure before reinstalling the bollard. Proper foundation repair ensures the bollard can withstand future impacts. Teams should always check for underground shifts and make sure the base meets safety standards.
🛠️ Tip: Always let concrete cure fully before reinstalling bollards to ensure maximum strength.
Post-Repair Check
Structural Soundness
After completing repairs, teams must confirm that each bollard meets safety standards. They should check the bollard for stability by applying gentle pressure from different directions. If the bollard does not move or wobble, it likely sits securely in its foundation. Inspectors should also look for any new cracks or signs of stress on the surface. They can use a flashlight to check for hidden damage near the base or along welds.
A simple checklist helps guide the process:
- Confirm the bollard stands straight with no tilt.
- Check for tight anchor bolts at the base.
- Inspect the surface for fresh cracks or paint damage.
- Test the bollard’s resistance to movement.
Tip: If the bollard shows any sign of weakness, schedule a follow-up inspection or consult a structural engineer.
Teams should compare the repaired bollard to others at the site. This step ensures that all bollards provide the same level of protection.
Documentation
Accurate records support future maintenance and help with insurance claims. Teams should document every step of the repair process. They can take clear photos of the bollard before and after repairs. Written notes should include the date, type of damage, repair methods, and names of workers involved.
A sample documentation table:
| Step | Details |
|---|---|
| Date | When repair took place |
| Bollard Location | Exact site or number |
| Damage Description | Type and extent of damage |
| Repair Actions | Methods and materials used |
| Inspector Name | Who performed the check |
Keeping detailed records helps track the condition of each bollard over time. This practice also supports compliance with safety regulations.
Teams should store all documentation in a secure location for easy access during future inspections or audits.
Preventive Maintenance
Routine Inspections
Routine inspections form the backbone of effective bollard maintenance. Teams should schedule regular checks to catch early signs of wear or damage. Inspectors walk the site and examine each bollard for cracks, rust, or loose fittings. They use a checklist to ensure no detail gets missed. Early detection helps prevent costly repairs and keeps every bollard ready for impact.
A sample inspection checklist includes:
- Check for visible dents or bends on each bollard.
- Inspect paint for chips or rust spots.
- Test the stability by gently pushing the bollard.
- Examine the base for cracks or loose bolts.
- Record findings and schedule necessary bollard servicing.
Teams should perform bollard servicing at least twice a year. High-traffic areas may require more frequent checks. Consistent bollard maintenance reduces the risk of failure and extends the life of each installation.
Tip: Keep inspection records organized. Good documentation supports safety audits and insurance claims.
Protective Covers
Protective covers add an extra layer of defense for every bollard. These covers shield against weather, corrosion, and minor impacts. Teams select covers made from durable materials like plastic or stainless steel. Installing covers during bollard servicing helps maintain a clean appearance and reduces long-term maintenance needs.
Covers also make it easier to spot damage. When a cover cracks or shifts, it signals a possible problem underneath. Teams should include cover checks in every bollard maintenance routine. Replacing damaged covers during bollard servicing prevents further harm to the structure.
A table can help teams choose the right cover:
| Cover Material | Benefits | Best Use Case |
|---|---|---|
| Plastic | Weather resistance | Light traffic areas |
| Stainless Steel | High durability | Busy or harsh sites |
| Polyurethane | Impact absorption | Parking lots |
Regular use of protective covers, combined with scheduled bollard servicing, ensures each bollard stays strong and reliable.
Insurance & Liability
Reporting
After a bollard collision, site managers must report the incident as soon as possible. Quick reporting helps protect the property owner from future liability. Managers should notify both their insurance provider and any relevant local authorities. They should include the time, date, and location of the incident in their report. If the bollard sits in a public area, managers may need to file a police report. This step creates an official record and supports any future claims.
Tip: Always keep a copy of every report for company records. This practice helps with audits and future reference.
Managers should also inform maintenance teams about the damaged bollard. Early communication ensures that repairs or replacements happen quickly. This action reduces the risk of further accidents at the site.
Documentation for Claims
Proper documentation makes insurance claims easier and faster. Teams should collect detailed evidence after every bollard impact. The following checklist helps organize the process:
- Take clear photos of the damaged bollard from multiple angles.
- Record the serial number or identification tag on the bollard.
- Gather repair records, including dates and methods used.
- Save inspection reports that detail the extent of the damage.
- Collect witness statements if anyone saw the collision.
A table can help organize the required documents:
| Document Type | Purpose |
|---|---|
| Photos | Visual proof of damage |
| Repair Records | Show actions taken |
| Inspection Reports | Detail condition and findings |
| Witness Statements | Support the claim |
Note: Complete documentation protects the property owner from disputes and supports compliance with safety regulations.
Teams should store all records in a secure location. Good documentation ensures that every bollard incident receives proper attention and that claims process smoothly.
A thorough bollard impact damage assessment protects people and property. Teams should inspect each bollard, repair or replace as needed, and document every step. Quick action and clear records support safety and reduce risk. A simple checklist helps guide future incidents. Regular maintenance and review of bollard installation keep every site secure. Prioritizing safety and proper installation ensures each bollard stands ready for the next challenge.
FAQ
What should teams do first after a bollard collision?
Teams should secure the area and use personal protective equipment. They must keep people away from the damaged bollard. Quick action helps prevent further accidents and keeps everyone safe.
How can someone tell if a bollard needs replacement?
A bollard needs replacement if it leans more than five degrees, has deep cracks, or shows severe bending. Foundation collapse or missing anchor bolts also signal the need for a new bollard.
Why is documentation important after a bollard impact?
Documentation provides proof of damage and repairs. It supports insurance claims and helps track the condition of each bollard. Good records also show compliance with safety standards.
How often should teams inspect bollards for damage?
Teams should inspect bollards at least twice a year. High-traffic areas may need more frequent checks. Regular inspections help catch problems early and keep the site safe.
Tip: Use a checklist during each inspection to ensure nothing gets missed.
