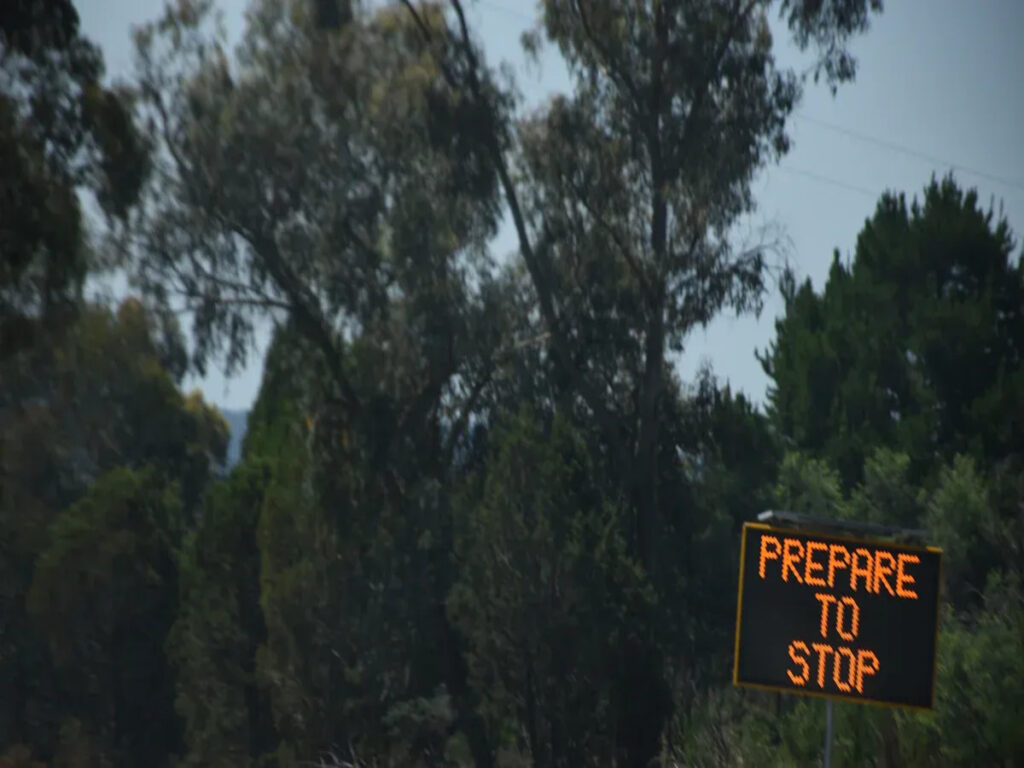
交通量の多い道路工事エリアに来て、明るい黄色の一時停止準備標識が見えたと想像してください。. 速度を落として、前方の労働者のために停止する準備をする必要があることはわかっています. この交通標識はみんなの安全を守るために非常に重要です. あなたが交通管制官である場合, 現場監督, または道路工事の専門家, AS をフォローするにはこの標識を使用します 1742.3 ルール. 標識を適切な場所に設置し、人々が見えるようにすることで、労働者の安全を確保し、交通を適切に制御することができます。.
一時停止準備標識とは何ですか?

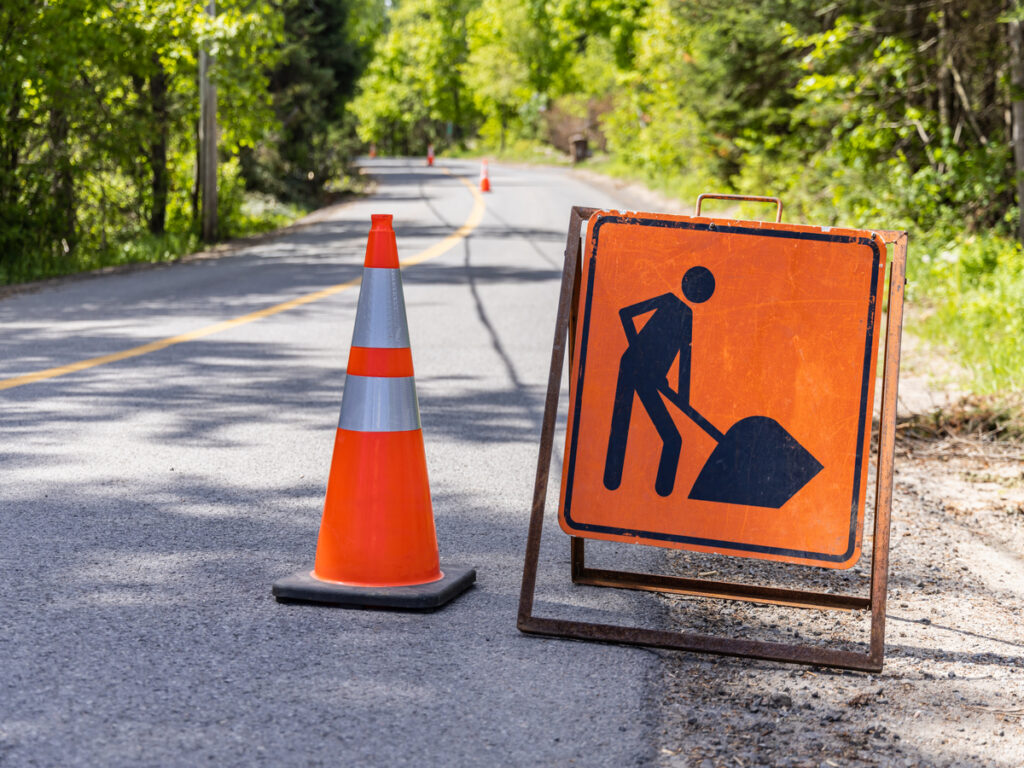
デザインと機能
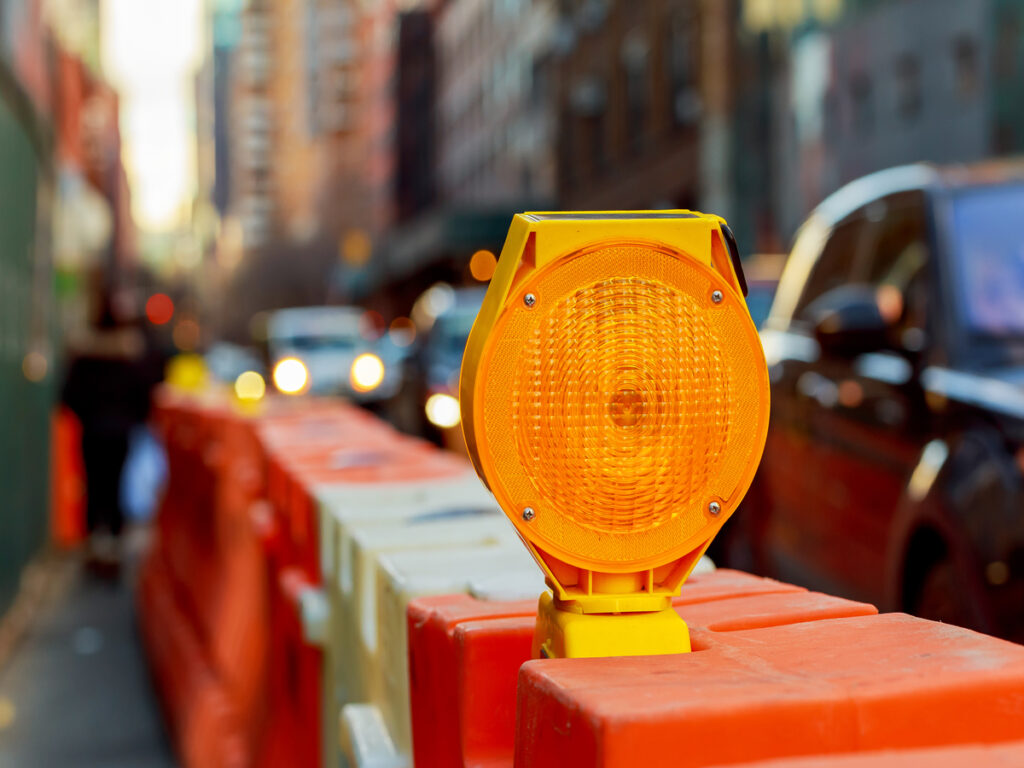
一時停止準備標識は明るい黄色なのですぐにわかります. 黒文字が大きくて読みやすいです. 道路標識には通常こう書かれています “停止の準備をする” そうすればドライバーは何をすべきか分かる. 長方形または菱形にすることができます. 形状は担当する道路管理局によって異なります. ドライバーが視認しやすいように再帰反射シートを使用した標識です。. この特殊な素材には小さなガラスビーズまたはマイクロプリズムが含まれています。. これらは車のヘッドライトをドライバーに反射します。. マイクロプリズムシートは古いガラスビーズタイプよりも明るく、長持ちします。. これで夜でも標識が見えやすくなります, 雨の中, または霧の中. 作業ゾーンに着く前に標識に気づくことができます.
ヒント: その他のサイン 折り返しを後押しします より見やすくなります. 暗いときや悪天候のときに人々の安全を守るのに役立ちます.
作業区域の目的
停止準備標識は労働者とドライバーの安全を守るのに役立ちます. 道路工事や車線閉鎖に到達する前に表示されます. 標識は速度を落として停止する準備をするように指示しています. この警告により、車の速度を落として作業員に注意する時間が与えられます。. 交通管制官やその他の危険に注意することもできます. 研究によると、この標識を見ると人々はより早く減速することがわかっています. 車間のスペースも確保します. これにより、急ブレーキを停止し、作業区域付近での衝突の可能性が低くなります。.
- 標識はあなたを助けます:
- 作業エリアに到達する前に速度を落としてください.
- 車線変更や停止の準備をする.
- 作業員や機械に注意.
規制基準
オーストラリアの基準 一時停止準備標識の使用に関するルールがある. 全員の安全を守り、法律を遵守するには、これらのルールに従う必要があります. 主な基準は次のとおりです:
| オーストラリア標準 | 範囲 / 「停止の準備」との関連性’ サイン (W8-27) |
|---|---|
| として 1742.1:2014 | W8シリーズなどの交通制御装置を一覧表示. 標識のサイズとその使用時期について説明します. |
| として 1742.2 | 交通管制装置全般についての話. 一時停止準備標識について言及しています. |
| として 1742.3 | 道路工事の交通規制に注力. サインイン作業ゾーンを使用するためのルールを提供します. |
| として 1743 | 仮設標識のデザイン詳細を提供します. これには一時停止準備標識も含まれます. |
これらのルールに従って、標識を正しい場所に設置する必要があります. これにより、罰金を回避し、道路上の全員の安全を確保できます.
一時停止準備標識をいつ使用するか
典型的なシナリオ
オーストラリア全土の多くの道路工事で一時停止の標識が見られます。. この標識は、交通規制が行われている場所で最も頻繁に表示されます。. 警告者が車両を誘導するときや、 臨時信号機 流れを管理する. 標識は速度を落とすように警告しています, 警戒を怠らない, 必要に応じて停止する準備をしてください. この警告に従うと、工事区域内またはその周囲での交通の安全な移動を維持できます。.
一般的なシナリオには次のものがあります。:
- 作業員が動く交通の近くで作業する建設区域に近づく.
- 道路工事により片側一車線になった箇所.
- 臨時の信号機や車両の動きを制御する標識装置がある場所.
- 車線閉鎖または道路レイアウトの変更による作業区域への進入ポイント.
注記: 他の道路工事の標識を見つけたら、常に一時停止準備標識を探す必要があります。. 一時停止/ゴーの標識や交通管制官の前に来ることが多い.
法的要件
オーストラリアの法律は一時停止準備標識の使用に関する明確な規則を定めています. の基準に従わなければなりません として 1742.3 全員の安全を守り、罰則を回避するために. 法律では、道路工事の近くでドライバーが停止または減速することが予想される場合には、この標識を使用する必要があると定められています。. 標識はドライバーが反応するのに十分な時間を与えられる距離に設置する必要があります. 通常、推奨される範囲は次のとおりです。 50 そして 250 危険の前のメートル. この距離は、次の条件に基づいて調整する必要があります。 制限速度 ドライバーが標識をどの程度視認できるか.
| 制限速度 (km/h) | 危険前の推奨距離 (メーター) |
|---|---|
| 40 | 50–100 |
| 60 | 100–200 |
| 80+ | 200–250 |
標識は見やすいようにしなければなりません. 再帰反射素材により、ドライバーが夜間や悪天候時に標識を見つけるのに役立ちます. 混乱を避けるために、必要がない場合は標識を削除する必要があります.
誤った使用のリスク
一時停止準備標識を誤って使用した場合, 労働者とドライバーを危険にさらすことになります. ドライバーは時間内に減速しない可能性があります. 急停止は衝突やニアミスの原因となる. 予想通りに停止しない車両により作業員が危険にさらされる可能性がある. ルールに従わない場合、罰金や法的措置が課される可能性もあります.
リスクには以下が含まれます::
- 作業者と道路利用者の安全性の低下.
- 追突事故の可能性が高まる.
- 必要のない標識が省略されているとドライバーが混乱する.
- ASに従わない場合の法的罰則 1742.3 基準.
ヒント: 交通管理計画を常に確認してください. 一時停止準備標識は必要な場合にのみ使用し、ドライバーがはっきりと見える場所に設置してください。.
一時停止準備標識を設置する場所
配置距離
一時停止準備標識は、ドライバーが視認できる十分な時間を与えられる距離に設置する必要があります。, 理解する, そして安全に反応する. 通常、推奨される範囲は次のとおりです。 50 そして 250 危険の前のメートル. この距離は、次の条件に基づいて調整する必要があります。 制限速度 ドライバーが標識をどの程度視認できるか. 制限速度が高い道路では, ドライバーは減速するのにより多くの時間を必要とするため、標識をより遠くに設置する必要があります. 速度が遅い都市部では, 標識を作業ゾーンの近くに設置できます.
距離は視認性にも依存します. 道路にカーブがある場合, 丘, または視界を遮る物体, ドライバーが見逃さないように標識を近づけるべきです. 最適な場所を決めるには、自分の判断で現地のルールに従ってください。. より多くの単語や小さな文字を含む標識は、ドライバーが読みやすいように余分な距離が必要です.
| 制限速度 (km/h) | 危険前の推奨距離 (メーター) |
|---|---|
| 40 | 50–100 |
| 60 | 100–200 |
| 80+ | 200–250 |
ヒント: 視界がクリアかどうかを常に確認してください. ドライバーの視界から標識を遮るものがないことを確認してください.
視認性と明瞭さ
一時停止準備標識が見やすく、理解しやすいものであることを確認する必要があります。. 明るい色と再帰反射素材により、ドライバーは昼間でも標識を見つけることができます。, 夜に, または悪天候で. 標識では、ドライバーが何をすべきかを理解できるように、明確な言語と単純な記号を使用する必要があります。. 少なくとも看板は設置すべきです 1.5 田舎では高さ数メートル、 2 都市部や高速道路の高さ数メートル. これにより、標識が車の上に表示され、見やすくなります.
- 再帰反射コーティングを使用して光をドライバーに反射します。.
- 看板を清潔に保ち、汚れや損傷がないようにしてください.
- 木がある場所に標識を設置します, ポール, または駐車車両がそれを妨げないでください.
- ドライバーが警告に段階的に従うことができるように、標識を論理的な順序で配置します。.
- 安全なベースを使用して、看板が風や交通で落下したり動いたりしないようにしてください。.
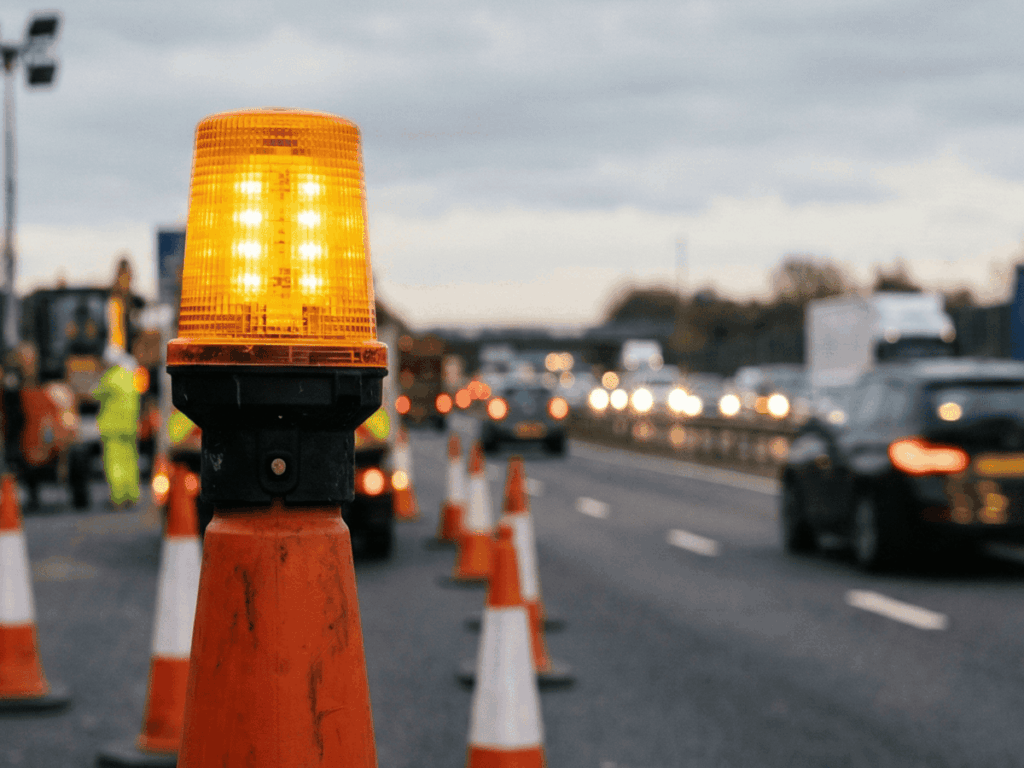
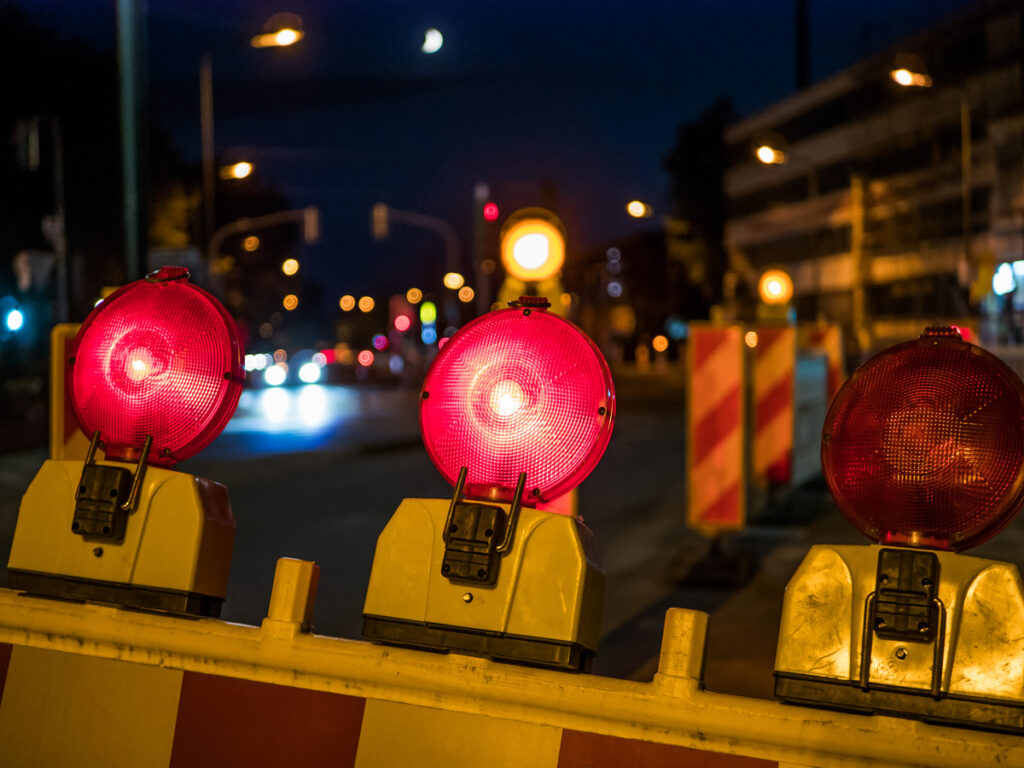
点滅するライトや LED の境界線を追加して、悪天候や夜間の視認性を向上させることができます. 定期的にチェックすると、色あせたり損傷した標識を見つけることができます. 警告を明確に保つために、すぐに交換してください.
使用しないときは取り外します
停止準備標識は不要な場合は削除する必要があります。. 作業終了後に標識を外したままにしておくと、ドライバーが混乱し、道路標識に対する信頼が低下する可能性があります. 常に交通管理計画を確認し、適用されなくなった標識を撤去してください. これにより、道路の安全が確保され、ドライバーがいつ変化が予想されるかを知ることができます。.
- 作業が行われていないときは標識を取り除くか覆いをしてください.
- 損傷を防ぐために標識を安全に保管してください.
- 標識を元に戻す前に標識を検査する.
注記: 使用されていない標識は決して展示したままにしてはいけません. この簡単な手順は、ドライバーの混乱を防ぎ、全員の安全を守るのに役立ちます.
一時停止準備標識のベスト プラクティス
ASへの準拠 1742.3
あなたは次のように従わなければなりません 1742.3 一時停止準備標識を使用するとき. この規格では、標識は事前警告標識であると規定されています. ドライバーが反応する時間を確保できるように、作業ゾーンより十分前方に設置する必要があります。. 標識は常にドライバーの目の高さに取り付けてください, 間 1.0 そして 1.5 地上のメートル. 黄色の背景に黒色のテキストを使用する. 重い台や土嚢を使用して、標識が直立して安定していることを確認してください。. ドライバーを混乱させる可能性のある恒久的な標識を覆う. 作業が終了したらすぐに一時停止準備標識を撤去してください. これらの手順は、道路上の全員を保護し、法律を遵守するのに役立ちます.
ヒント: 定期的なチェックと損傷した標識の迅速な交換により、サイトの安全とコンプライアンスを維持します。.
メンテナンスと検査
標識を頻繁に検査する必要があります. ダメージを探してください, フェード, 標識が読みにくくなる可能性のある汚れ. 柔らかいブラシと研磨剤の入っていないクリーナーを使って看板を掃除してください. 標識の邪魔になる植物や木を切り落とす. 盗難や移動を防ぐためにすべての留め具を締めてください. 反射の輝きを失ったり、損傷した標識は交換してください。. 夜に懐中電灯やスポットライトを使って看板が見えるかどうかを確認してください. 各サインの記録を残す, いつ、どこにインストールしたか、最後にチェックしたのはいつかなど.
- 損傷や可読性を検査します.
- 反射面を保護するために慎重に掃除してください.
- 障害物をすべて取り除きます.
- 留め具を確認し、色あせた標識を交換します.
- 嵐の後または毎年見直す.
他の星座とのコーディネート
一時停止準備標識は他の道路工事標識と一緒に使用する必要があります。. 次のような標識の前に置きます “先の交通管制官”, 制限速度の変更, または “ストップ/ゴー” パドル. クイーンズランド州と南オーストラリア州では, ドライバーに警告するための追加の標識やライトの点滅が表示される場合があります。. 夜間または悪天候の場合は、反射標識または照明標識を使用します。. これらの標識は、ドライバーが警告や方向を確認するのに役立ちます, 低光でも. オーストラリアで, 米国よりも事前警告サインをよく使用します, フラッガーとストップ/ゴーパドルが一般的な場所. 反射標識と照明標識はドライバーを安全に誘導し、作業区域での事故を減らすのに役立ちます.
注記: 最良の安全性を得るために、標識を常に地域の規則と条件に一致させてください。.
一時停止準備標識は、作業区域を安全に保ち、AS に準拠する上で重要な役割を果たします。 1742.3. この交通規制標識を正しく設置し、見えるようにしておくと、, クラッシュを最大で減らすことができます 30%. 交通管理計画を常に確認してください, サインを維持する, そしてベストプラクティスに従ってください. 専門家のアドバイスや準拠した標識を見つけるには, 信頼できるサプライヤーに連絡する.
よくある質問
は何ですか “停止する準備をします” 記号の意味?
道路工事に近づくとこの標識が見えます. 速度を落として停止する準備をするように指示します. 作業員や交通管制官が安全のために停止を要求する場合があります.
いつ削除する必要がありますか “停止する準備をします” サイン?
作業が終了したとき、または停止する必要がなくなったら、すぐに標識を撤去しなければなりません. これを放置するとドライバーが混乱し、道路標識に対する信頼が低下する可能性があります.
標識は危険のどれくらい前に設置する必要がありますか?
標識は危険箇所の 50 ~ 250 メートル前に設置する必要があります. 正確な距離は、制限速度とドライバーが標識をどれだけよく視認できるかによって異なります。.
この看板にとって再帰反射素材が重要な理由?
再帰反射素材により、夜間や悪天候時にドライバーが標識を視認できるようになります. ヘッドライトを反射してる, 警告を明確にして見つけやすくする.
を使用できますか “停止する準備をします” 他の道路標識と併用する?
はい, 次のような記号と一緒に使用する必要があります “先の交通管制官” または “ストップ/ゴー“. これにより、ドライバーが何が予想されるかを理解し、全員の安全を確保できるようになります。.