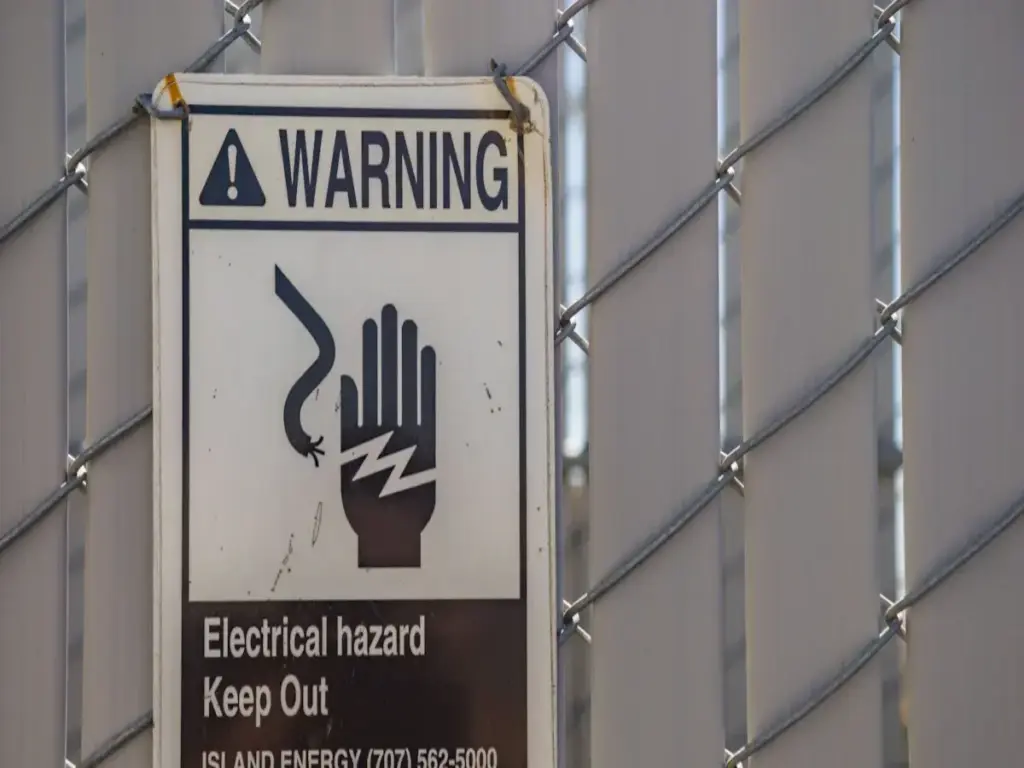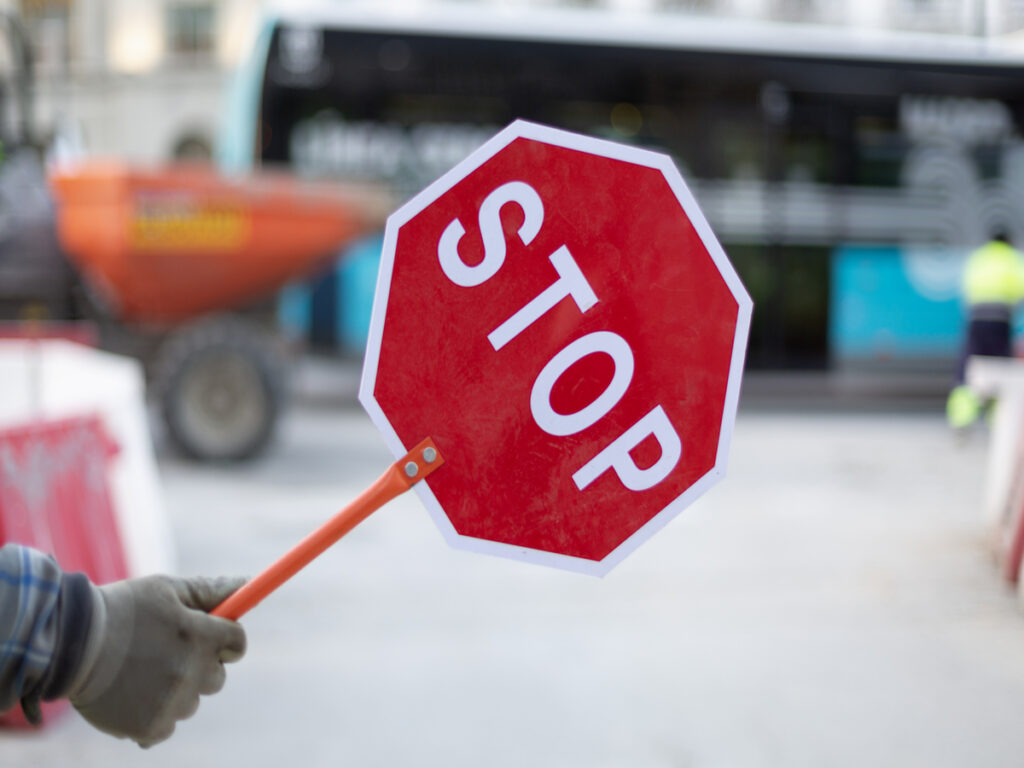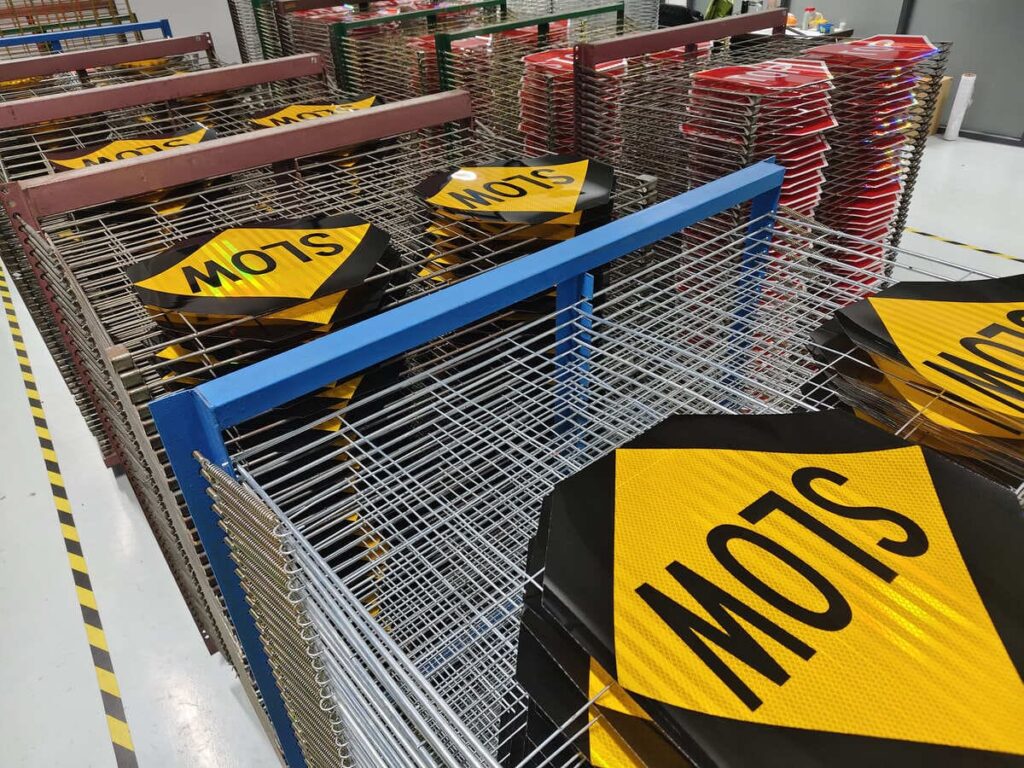
Une équipe installe des panneaux de construction personnalisés sur un chantier très fréquenté. Le matin, ils voient qu'un panneau est tombé dans la boue molle. Un sol instable constitue un risque important pour la sécurité. Les travailleurs doivent bien se préparer pour que les panneaux restent debout et faciles à voir.. Utiliser la bonne manière d'installer la signalisation au sol permet d'éviter les accidents et de respecter les règles.
À OPTRAFIC, nous comprenons que installation correcte des panneaux est essentiel pour la sécurité sur les chantiers de construction. C'est pourquoi nous fournissons panneaux de construction personnalisés conçu pour une visibilité et une durabilité faciles, Même dans des environnements difficiles. Que vous ayez affaire à sol mou, vents violents, ou terrain accidenté, notre panneaux de signalisation de haute qualité et bases stabilisantes assurez-vous que vos panneaux restent droits et visibles. Nos solutions expertes aident votre équipage à respecter les normes de sécurité tout en minimisant les risques d'accidents. OPTRAFIC offre les bons outils pour assurer la sécurité et la conformité de votre chantier, facilitant l'installation de panneaux de manière sûre et efficace.
Principaux à retenir
- Vérifiez le sol avant de mettre des panneaux. Connaître le type de sol empêche les panneaux de tomber.
- Choisissez la meilleure façon d’installer des panneaux au sol. Utilisez des bases lourdes pour les sols mous. Utilisez des ancrages pour un sol sablonneux ou meuble.
- Regardez souvent les panneaux pour vous assurer qu'ils restent en place. Vérifier beaucoup vous aide à détecter rapidement les problèmes et à assurer la sécurité des personnes.
- Choisissez des matériaux solides pour les panneaux. L'aluminium et le PVC ne se cassent pas facilement sous l'effet des intempéries ou du sol.. Cela fait durer les signes.
- Suivez les règles de l'OSHA pour la sécurité et la visibilité des panneaux.. Cela assure la sécurité des travailleurs et réduit les risques d'accidents..
Comprendre un sol instable
Pourquoi les installations de panneaux standard échouent
Les équipes de construction ont du mal à installer des panneaux sur un terrain instable. Manières habituelles, comme enfoncer des poteaux dans la terre ou utiliser des bases lumineuses, ne faites pas de signes assez stables. Le vent peut renverser le panneau ou le faire pencher. De grosses machines qui se déplacent à proximité secouent le sol. Cela fait bouger ou tomber les panneaux. La terre meuble ne peut pas maintenir le panneau droit. Le sol bosselé présente des creux et des bosses qui affaiblissent le support du panneau.. Si le sol s'enfonce, ça veut dire que le sol n'est pas solide. Les fissures dans la chaussée ou les fondations montrent des problèmes plus importants ci-dessous. Toutes ces choses font qu'il est difficile pour les panneaux de rester sûrs et faciles à voir.
Conseil: Regardez toujours le sol avant de mettre une pancarte. Les panneaux ont besoin d’une base solide pour tenir debout et bien fonctionner.
Types de terrain instable
Les sols instables se présentent sous de nombreux types. Chaque type change la façon dont les panneaux restent en place. Les équipes doivent connaître le terrain pour choisir la meilleure façon d'installer les panneaux..
- Boue et terre molle: Les panneaux coulent et perdent leur soutien.
- Sable: Le sable en mouvement ne retient pas bien les panneaux.
- Gravier: Les roches lâches rendent la base bancale.
- Saleté de remplissage fraîche: La saleté s'accumule plus tard, donc les signes peuvent pencher.
- Chaussée fissurée: Montre que le sol bouge en dessous.
- Surfaces inégales: Les creux et les bosses signifient un sol faible.
- Structures coulantes: Montre que le sol n'est pas solide.
- Sol semi-stable: La terre tassée aide mais peut toujours bouger.
- Surfaces pavées: Besoin de moyens doux pour les installations à court terme.
Certaines corrections contribuent à améliorer le sol. Le clouage du sol ajoute un soutien supplémentaire au sol. Les géotextiles empêchent le sol d'être emporté et l'aident à rester solide. La stabilisation à la chaux rend le sol plus dur et moins humide. Les équipes doivent utiliser la bonne méthode pour chaque type de sol pour obtenir les meilleurs résultats.
Évaluation de la surface de votre chantier
Classification des conditions du sol
Les équipages doivent savoir de quel type de terrain ils disposent. Cela aide à arrêter les accidents et à maintenir les panneaux debout. Les ouvriers examinent le sol et le vérifient avec des tests simples. Ils utilisent des outils pour voir à quel point le sol est dur ou mou.. Le Système de classification unifié des sols et le système AASHTO aident à trier les types de sol. Ces systèmes utilisent des éléments tels que la taille et la couleur des grains.. Les travailleurs utilisent une grille granulométrique de sable et un livre de couleurs du sol. Ceux-ci montrent si le sol est sablonneux, boueux, ou rocheux. Les jauges géotechniques indiquent le poids que le sol peut supporter. Le système Burmister modifié est une autre façon d'évaluer la résistance du sol..
- Échantillonnage du sol & Classification visuelle
- Système de classification unifié des sols (USCS)
- Système de classification des sols AASHTO
- Système Burmister modifié
- Pénétromètre de poche pour le sol
- Testeur de palettes de cisaillement de poche
- Tableau des tailles de grains de sable
- Jauge géotechnique
- Livre de couleurs du sol Munsell
Les équipes utilisent ces outils et systèmes pour voir si le sol est mou, lâche, ou semi-stable. Cela les aide à choisir la meilleure façon d'afficher chaque panneau..
Identifier les dangers du site
Les équipes recherchent les dangers qui affaiblissent le terrain. Les contrôles de risque détectent des problèmes tels que le sol meuble et l'eau. De nombreux experts vérifient le terrain pendant le projet. Ils surveillent les changements à mesure que les travaux avancent. Les appareils IoT aident à surveiller le sous-sol et à avertir les équipes en cas de mouvement du sol.
Une fois, une tranchée s'est effondrée lors d'un chantier de pipeline. Le sol n'a pas été bien vérifié, et le bon support n'a pas été utilisé. Cela montre pourquoi il est important de vérifier la résistance du sol avant et pendant les travaux..
- Effectuez une vérification complète des risques pour détecter les dangers tels que la terre meuble et l'eau..
- Faire appel à de nombreux experts pour vérifier les risques pendant le projet.
- Continuez à surveiller sous terre avec les appareils IoT pour détecter rapidement les problèmes.
Les équipes qui vérifient le sol et recherchent les dangers assurent la sécurité des panneaux et protègent les travailleurs..
Solutions d'installation pour panneaux de construction personnalisés
Choisir la bonne façon de installer des panneaux aide à les garder en sécurité et faciles à voir. C'est important, même si le sol n'est pas stable. Chaque méthode fonctionne mieux pour certains endroits et besoins. Les parties suivantes vous indiquent quand utiliser chaque sens et à quoi penser pour votre sécurité..
Systèmes à base pondérée
Les systèmes à base lestée conviennent aux panneaux de construction personnalisés sur un sol meuble ou fini.. Les équipes utilisent des objets lourds comme des sacs de sable ou des plaques de caoutchouc pour maintenir les panneaux stables.. Ces bases n'endommagent pas la chaussée ou le sol fini. Cette méthode fonctionne bien sur les endroits pavés, terre tassée, et les endroits où il est interdit de creuser.
| Stratégie | Description |
|---|---|
| Pondération | Les équipes mettent des sacs de sable ou des bases en caoutchouc pour empêcher les panneaux de tomber en cas de vent fort.. |
| Bloqueurs de vent | Les équipes placent des panneaux près des arbres ou des bâtiments pour bloquer le vent. |
| Conceptions respectueuses du vent | Les panneaux avec des trous laissent passer l'air, pour qu'ils ne basculent pas. |
| Chèques réguliers | Les travailleurs examinent souvent les panneaux pour s'assurer que les bases sont sûres et intactes.. |
Les systèmes à base lestée aident les panneaux à résister au vent en les rendant moins semblables à des voiles.. Les équipes doivent déterminer le poids de la base pour chaque panneau.. Ils doivent penser au vent et à la taille des panneaux. Les grands panneaux de construction personnalisés nécessitent un renfort supplémentaire pour plus de solidité.. De nombreuses bases sont équipées de verrous ou de points d'ancrage pour empêcher les gens de prendre les panneaux..
Conseil: Les systèmes à base lestée facilitent le déplacement des panneaux de construction personnalisés lorsque le site change.
Méthodes d'ancrage au sol
Méthodes d'ancrage au sol offrent un soutien solide aux panneaux de construction personnalisés sur un sol meuble ou sableux. Les équipes poussent les enjeux, barres d'armature, or earth anchors deep into the ground to reach solid layers. This way is best for long jobs where signs must stand up to wind and moving soil.
| Ground Anchoring Method | Suitable Soil Conditions | Description |
|---|---|---|
| Passive Anchor | Clay soils, gentle slopes | Uses the earth’s grip to keep signs steady. |
| Tension Anchor | Steep slopes, high walls | Holds signs with strong steel cables. |
| Rock Bolt | Steep rock slopes | Drilled and glued to hold signs on rocks. |
Crews pick the anchoring way based on soil and how long the job lasts. Passive anchors are good for clay. Tension anchors work on steep slopes. Rock bolts help on rocky ground. Strong anchoring keeps custom construction signs up during storms and when big machines move nearby. Many systems have bolts that are hard to remove or hidden anchor heads to stop theft. Les panneaux de signalisation résistants au vent aident l'air à circuler et maintiennent les panneaux stables.
Note: La profondeur des ancrages est importante. Les équipages doivent pousser les ancres au-delà de la couche supérieure fragile pour atteindre un sol solide..
Semelles en béton et poteaux battus
Les semelles en béton et les poteaux enfoncés constituent le moyen le plus durable d'installer des panneaux de construction personnalisés sur un sol ferme ou dur.. Les équipes creusent de petits trous, définir des messages, et remplissez-les de terre tassée ou de béton pour un support solide. Cette façon résiste au vent, tremblement, et beaucoup de trafic.
- Creuser des trous peut prendre moins d’une heure ou plus, en fonction du terrain.
- Préparer l’équipement et le ranger prend plus de temps.
- Les coûts de main-d'œuvre sont d'environ $290, et les matériaux coûtent environ $73.50, donc le total est d'environ $363.50 pour chaque signe.
- Autres emplois, comme obtenir des permis et parler aux clients, ajouter au moins 30 minutes.
- Les coûts de main-d'œuvre peuvent augmenter si le temps est mauvais.
- Concrete footings cost $0.50 à $8 for each foot, with an average of $150 for each footing.
- Getting the area ready before work helps save money.
- Booking work in slow seasons lowers labor costs.
- Good footings stop expensive repairs, which can start at $1,500.
- Getting prices from different workers helps control costs.
Concrete footings hold custom construction signs deep in the ground to fight wind. Driven posts are good for smaller signs or when concrete is not needed. Crews should pick strong posts and panels with wind-friendly features, like holes or tough edges. Strong anchoring keeps signs from falling or being stolen.
Pour la pointe: Concrete footings and driven posts give the best support for custom construction signs in tough places.
Choosing the Right Custom Construction Sign
Sign Material and Durability
Choisir le best material for a construction sign est important. Cela aide le panneau à durer plus longtemps et à rester solide dans les endroits difficiles. Les équipes choisissent des matériaux qui ne sont pas endommagés par l'eau ou les produits chimiques.. Ils veulent aussi des panneaux capables de résister aux intempéries. L'aluminium est fort et ne se casse pas facilement. ça marche bien dehors. Le PVC est bon pour l’intérieur comme pour l’extérieur. Il n'est pas endommagé par l'eau ou les produits chimiques. Le coroplast est bon par mauvais temps. Il ne se décolore pas et ne rouille pas. Certains panneaux utilisent des matériaux 3M™ avec de la colle collante. Ces panneaux fonctionnent à l'intérieur et à l'extérieur. Les panneaux résistants aux intempéries ont des couches spéciales. Ces couches arrêtent la décoloration et la rouille. Les panneaux de sécurité extérieurs sont faits pour être vus et durer dans les endroits difficiles.
| Matériel | Caractéristiques |
|---|---|
| PVC | Résistant à l'eau et aux produits chimiques, adapté pour l'intérieur et l'extérieur |
| Aluminium | Durable, résiste aux conditions difficiles |
| Corroplaste | Résistant aux intempéries, résiste à la décoloration et à la corrosion |
| 3Matériaux M™ | Adhésifs permanents, résiste aux conditions difficiles |
| Résistant aux intempéries | Revêtements protecteurs, résiste à la décoloration et aux dommages |
| Panneau de sécurité extérieur | Conçu pour la durabilité et la visibilité dans les environnements difficiles |
Le matériau que vous choisissez change la durée pendant laquelle le panneau reste clair. Matériaux réfléchissants aider les gens à voir les panneaux la nuit ou dans les endroits sombres. Le métal et le vinyle résistant ne se dégradent pas sous l'effet des intempéries ou d'une utilisation intensive.. Ces éléments aident à garder les panneaux de signalisation faciles à voir et sûrs., même sur un terrain fragile.
Conseil: Choisissez toujours un matériau de signalisation qui correspond aux conditions météorologiques et au sol de votre site..
Conception et compatibilité des publications
La façon dont un poteau de signalisation est fabriqué l'aide à rester en place et facilite son installation.. Les équipes utilisent différents postes pour différents terrains et façons d'installer. Les poteaux de clôture à niveau sont parfaits pour les terrains accidentés. Les équipes peuvent changer la hauteur après les avoir installées. Les poteaux de clôture en gradins conviennent mieux aux pentes abruptes. Ils font des marches mais peuvent laisser des trous en bas. Les poteaux de clôture en rayonnage se plient avec la pente. Ils sont bons pour les petites collines.
| Conception du message | Description |
|---|---|
| Clôture surmontée de niveau | Idéal pour les sols irréguliers, permet des réglages de hauteur après l'installation |
| Clôture à gradins | Idéal pour les pentes raides, crée des marches dans la ligne de clôture, peut laisser des espaces à la base |
| Clôture de rayonnage | Suit la pente, convient aux zones légèrement en pente sans nivellement |
Les systèmes d'ancrage par câble utilisent des câbles en acier solides pour aider à maintenir les panneaux sur les pentes.. Ces systèmes fonctionnent avec du béton projeté et du treillis métallique pour plus de soutien. Les équipes utilisent souvent plusieurs façons de maintenir les panneaux de signalisation dans des endroits difficiles d'accès..
Lors de l'achat de panneaux de jardin personnalisés, les équipes doivent réfléchir au style de la publication et à la manière dont elle fonctionne ainsi qu'à la façon dont elles la présenteront. La bonne combinaison maintient les panneaux stables et faciles à voir, même si le sol n'est pas stable.
5-Étape Liste de contrôle d'installation sécurisée
Étudier et classer le terrain
Les équipes commencent par examiner le chantier. Ils vérifient les dangers et les obstacles. Ils examinent également les règles locales. Les travailleurs utilisent leurs yeux et de simples analyses de sol pour voir quel type de sol se trouve là-bas.. Ils nettoient les déchets et s'assurent que la zone est propre. Cela aide les équipes à choisir la meilleure façon d'installer des panneaux de signalisation.. Cela contribue également à rendre le sol plus fort si nécessaire.
Sélectionnez le système d'installation
Après avoir vérifié le sol, les équipes choisissent la meilleure façon d'installer les panneaux. Ils utilisent un tableau pour comparer ce qui compte le plus:
| Critères | Importance |
|---|---|
| Propreté de surface | Aide la colle et les revêtements à mieux adhérer |
| Profondeur du profil de surface | Permet au panneau de mieux tenir au sol |
| Méthodes d'inspection | Vérifie avec les yeux et règles d'exactitude |
| Norme de propreté du chantier | Donne à chacun un objectif clair en matière de nettoyage |
Les équipes adaptent la façon dont elles installent les panneaux au type de sol. Ils utilisent des bases lestées pour les sols pavés. Ils utilisent des ancrages au sol pour la saleté meuble. Les semelles en béton sont utilisées pour les panneaux qui doivent durer longtemps.
Rassembler les outils et le matériel
Les travailleurs reçoivent tous les outils et pièces avant de commencer. Ils utilisent des outils spéciaux comme des tiges d'entraînement et des têtes de tournevis. Les entraînements manuels aident à mettre les panneaux en toute sécurité. Les outils ordinaires peuvent ne pas être assez puissants. Les équipes vérifient que chaque élément du panneau est là et non cassé. Ils nettoient à nouveau le sol si besoin.
Installer et tester la stabilité
Les équipes installent les panneaux de signalisation de la manière choisie. Ils mesurent et marquent les endroits pour être précis. Après avoir mis le signe, ils testent si ça tient fort. Les équipes recherchent des fissures ou des inégalités du sol. Certains travaux nécessitent des tests de sol comme des tests de compression triaxiale ou de cisaillement direct. These checks stop problems and keep signs standing. Teams may look at old data to see if the ground moved before. Testing makes sure the sign will stay up.
Conseil: Always check if each sign is stable after you put it in. This helps stop problems later.
Schedule Regular Inspections
Teams plan regular checks to keep signs safe and easy to see. Ils cherchent de la saleté, décoloration, ou dégâts. Checking often helps follow rules and stops accidents. Workers clean signs and fix problems fast. Regular checks show how important strong installation is and keep yard signs working well.
Regular care and checks help every sign stay strong at the jobsite.
Putting up custom construction signs the right way keeps workers safe. It also helps sites follow OSHA rules. Teams pick the best way for each ground type. This makes signs easier to see and stops accidents. Checking signs often and using simple designs helps on shaky ground. Experts say to use strong materials. They also say to change signs when the site changes.
| Meilleure pratique | Description |
|---|---|
| Se conformer à Règlements de l'OSHA | Uses the right colors and sizes so signs work well. |
| Customization for site needs | Changes signs to help people see and understand them better. |
Construction workers should choose the best signs for each site. They should ask experts for help when the ground is hard to work with.
FAQ
How does unstable soil affect sign installation?
Unstable soil can cause signs to tilt, sink, ou tomber. Workers must check soil type before installing any sign. Loose or wet soil needs extra support. Teams often use anchors or weighted bases to keep signs upright on shifting soil.
What is the best method for installing signs on sandy soil?
Crews prefer ground-anchoring systems for sandy soil. They drive stakes or earth anchors deep into the soil to reach stable layers. Sandy soil shifts easily, so anchors must go past the loose top soil for reliable support.
Can signs stay secure on gravel soil?
Gravel soil makes sign bases wobbly. Teams use weighted bases or ground anchors to stabilize signs. Gravel soil does not hold posts well, so workers check soil compaction and may add extra soil or support under the base.
How often should crews inspect signs installed on soft soil?
Crews inspect signs on soft soil daily. Soft soil changes quickly, especially after rain. Workers look for leaning signs or soil erosion. Regular checks help prevent accidents and keep signs visible. Teams also test soil firmness during inspections.
Quels matériaux fonctionnent le mieux pour les panneaux sur un sol instable?
L'aluminium et le PVC fonctionnent bien sur un sol instable. Ces matériaux résistent à l'humidité et aux produits chimiques présents dans le sol. Les équipes choisissent des poteaux adaptés aux conditions du sol. Des matériaux solides aident les panneaux à durer plus longtemps, même lorsque le sol bouge ou devient humide.
Conseil: Faites toujours correspondre le matériau des panneaux et la conception des poteaux au type de sol pour de meilleurs résultats..

